Nemo Dragonfly 2P review or How I broke it twice
In today's post I talk about my experience with Nemo Dragonfly 2P tent, what I like and don’t like about it, how I broke it twice in the backcountry 🤦🏽♀️ and my advice as for how to avoid it.
I’m not going to go deep into every technical spec of this tent, as this is something you can easily find online, but more so to different aspects of me using the tent and caring for it. You can probably find this post useful even if you already have a tent you’re happy with - as my advice would apply to most backpacking tents.
Some technical specs anyway
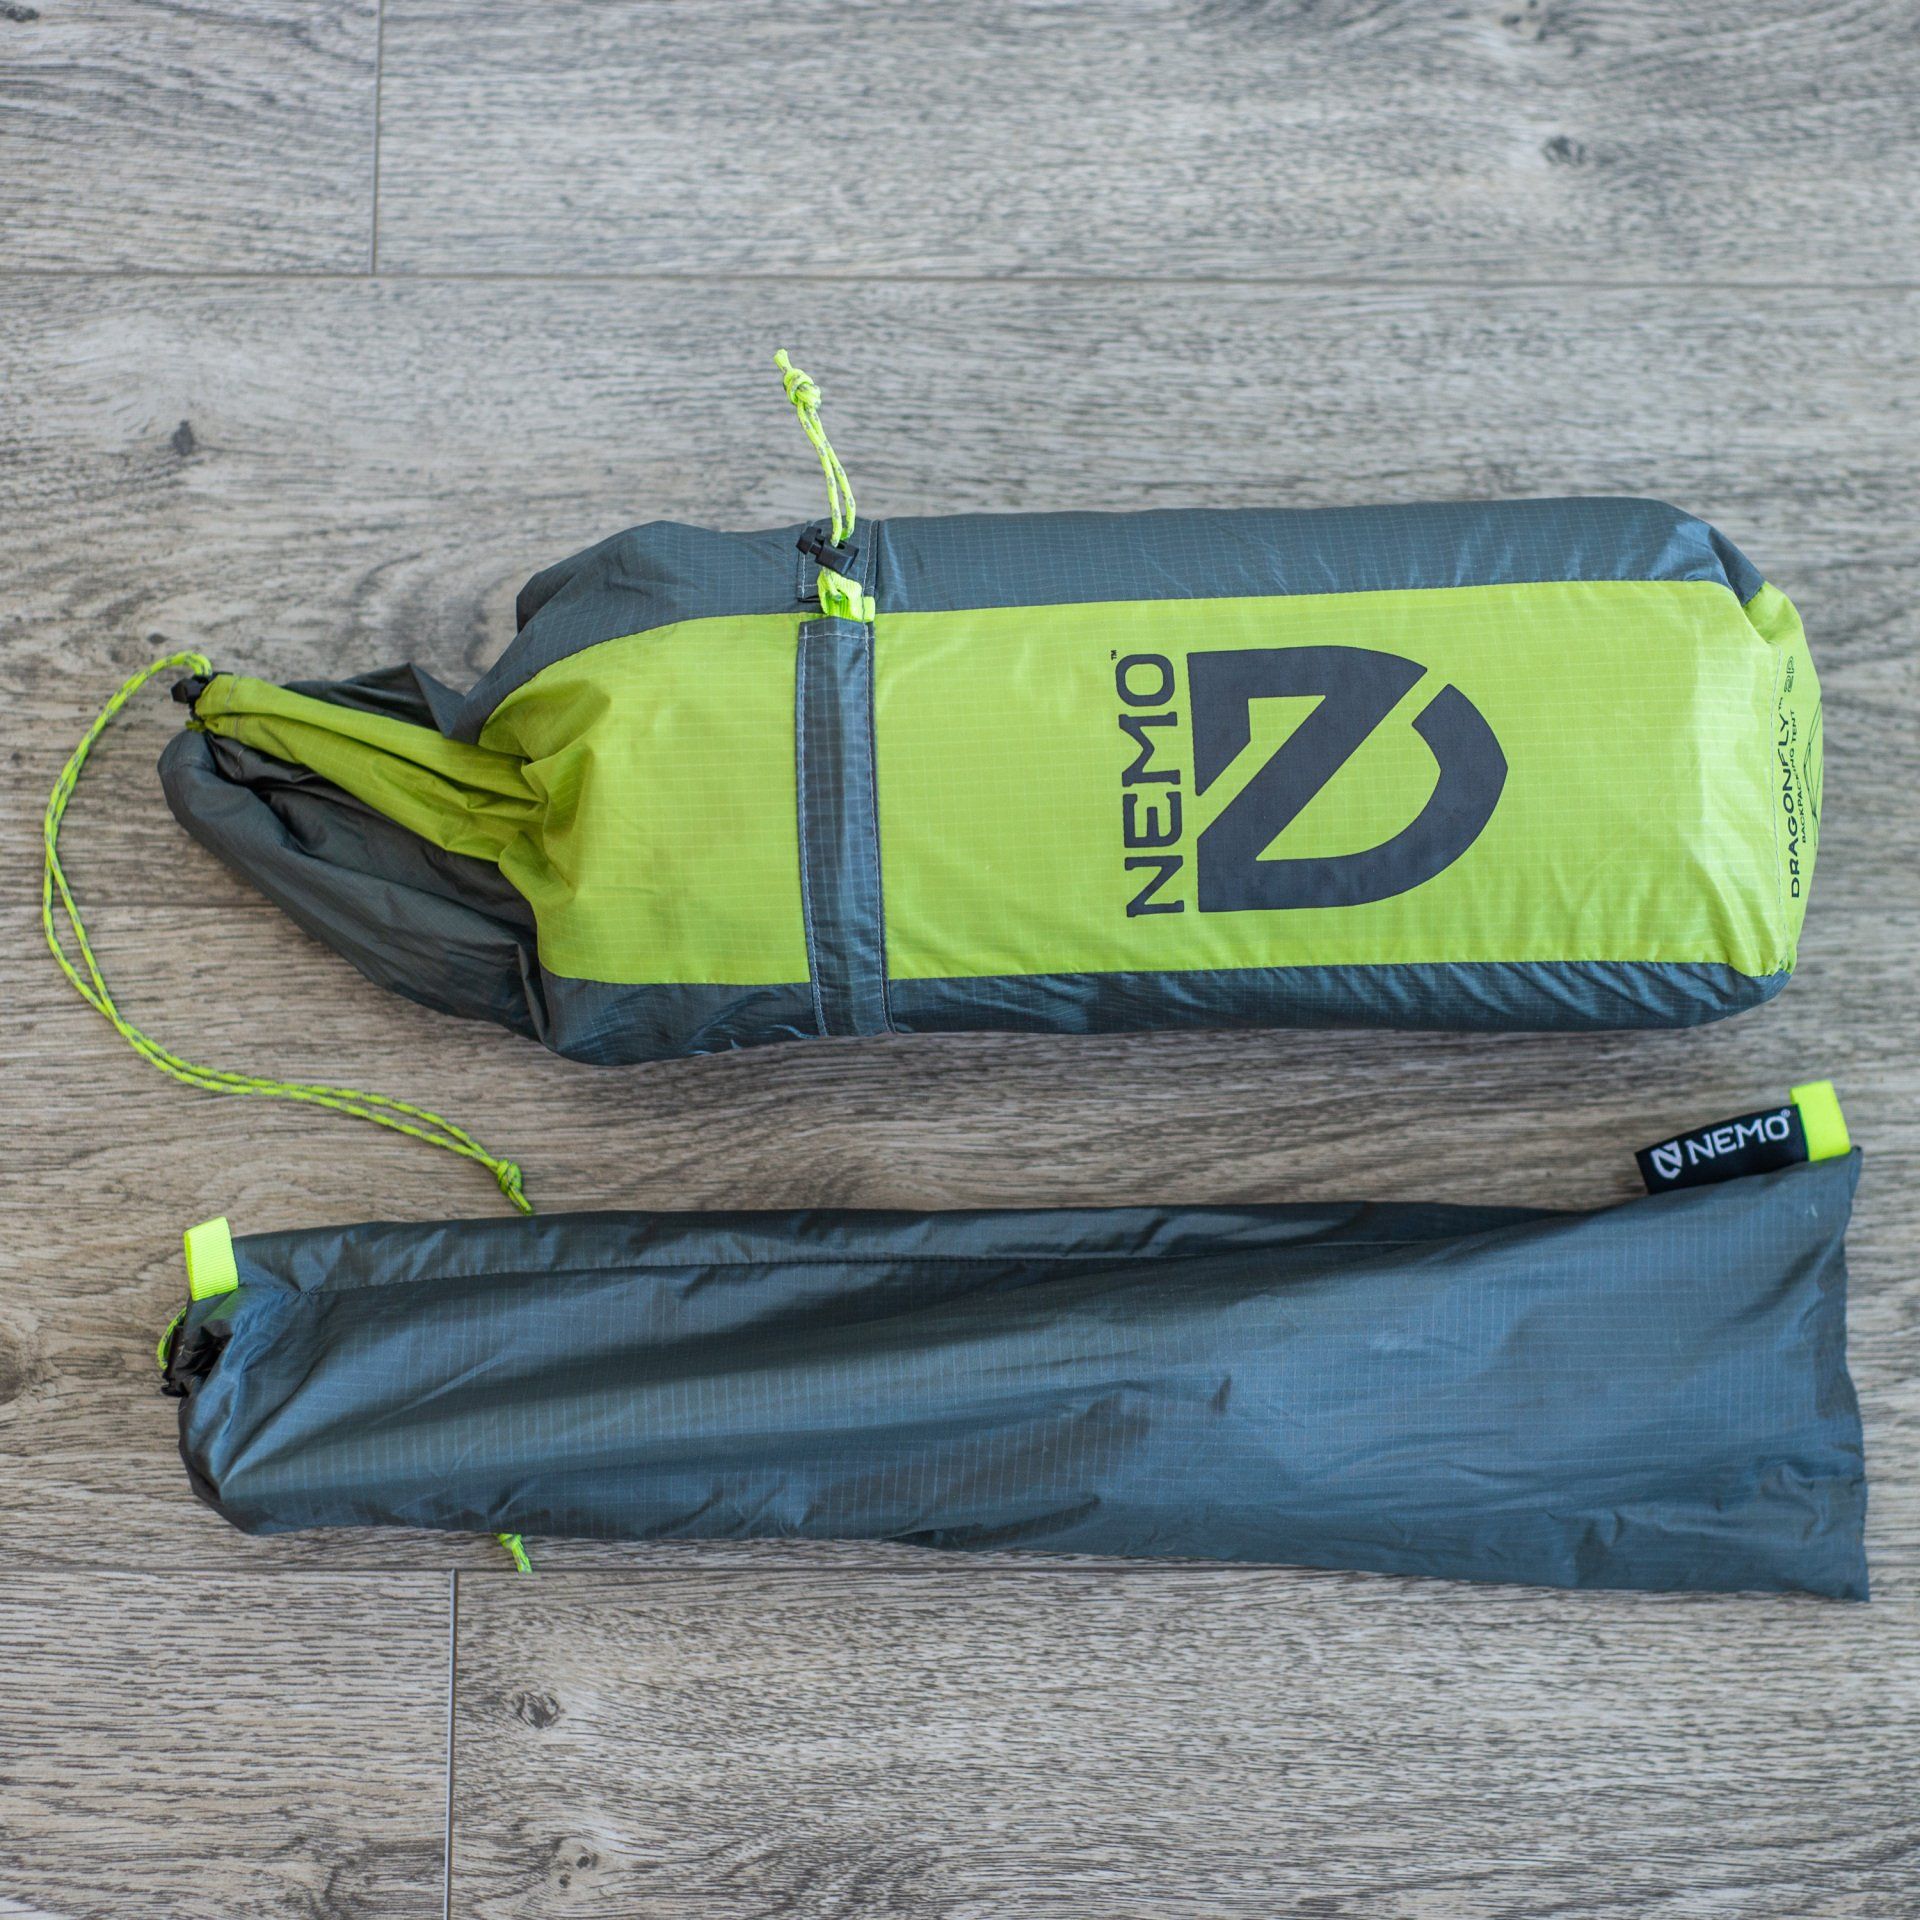
- Weight: 1.41kg
- Packed dimensions: 12x50cm, but I actually take the poles out of the main sack and pack them separately from the tent - it makes the tent fit horizontally in my backpack and conveniently sit at the bottom until I arrive in the camp.
- Waterproofness - it’s waterproof, as long as the water isn't splashing beneath the rainfly, which is hard to imagine anyway. It was raining on a few of my trips and I was completely dry inside. And yes, its bottom is waterproof.
- Size: 2 people. You can fit 2 sleeping pads pretty tightly inside.
- Footprint: not included. I made one, not from Tyvek - read on.
- I suspect it was discontinued by Nemo cause it's out of stock everywhere for a while :(
Overall experience
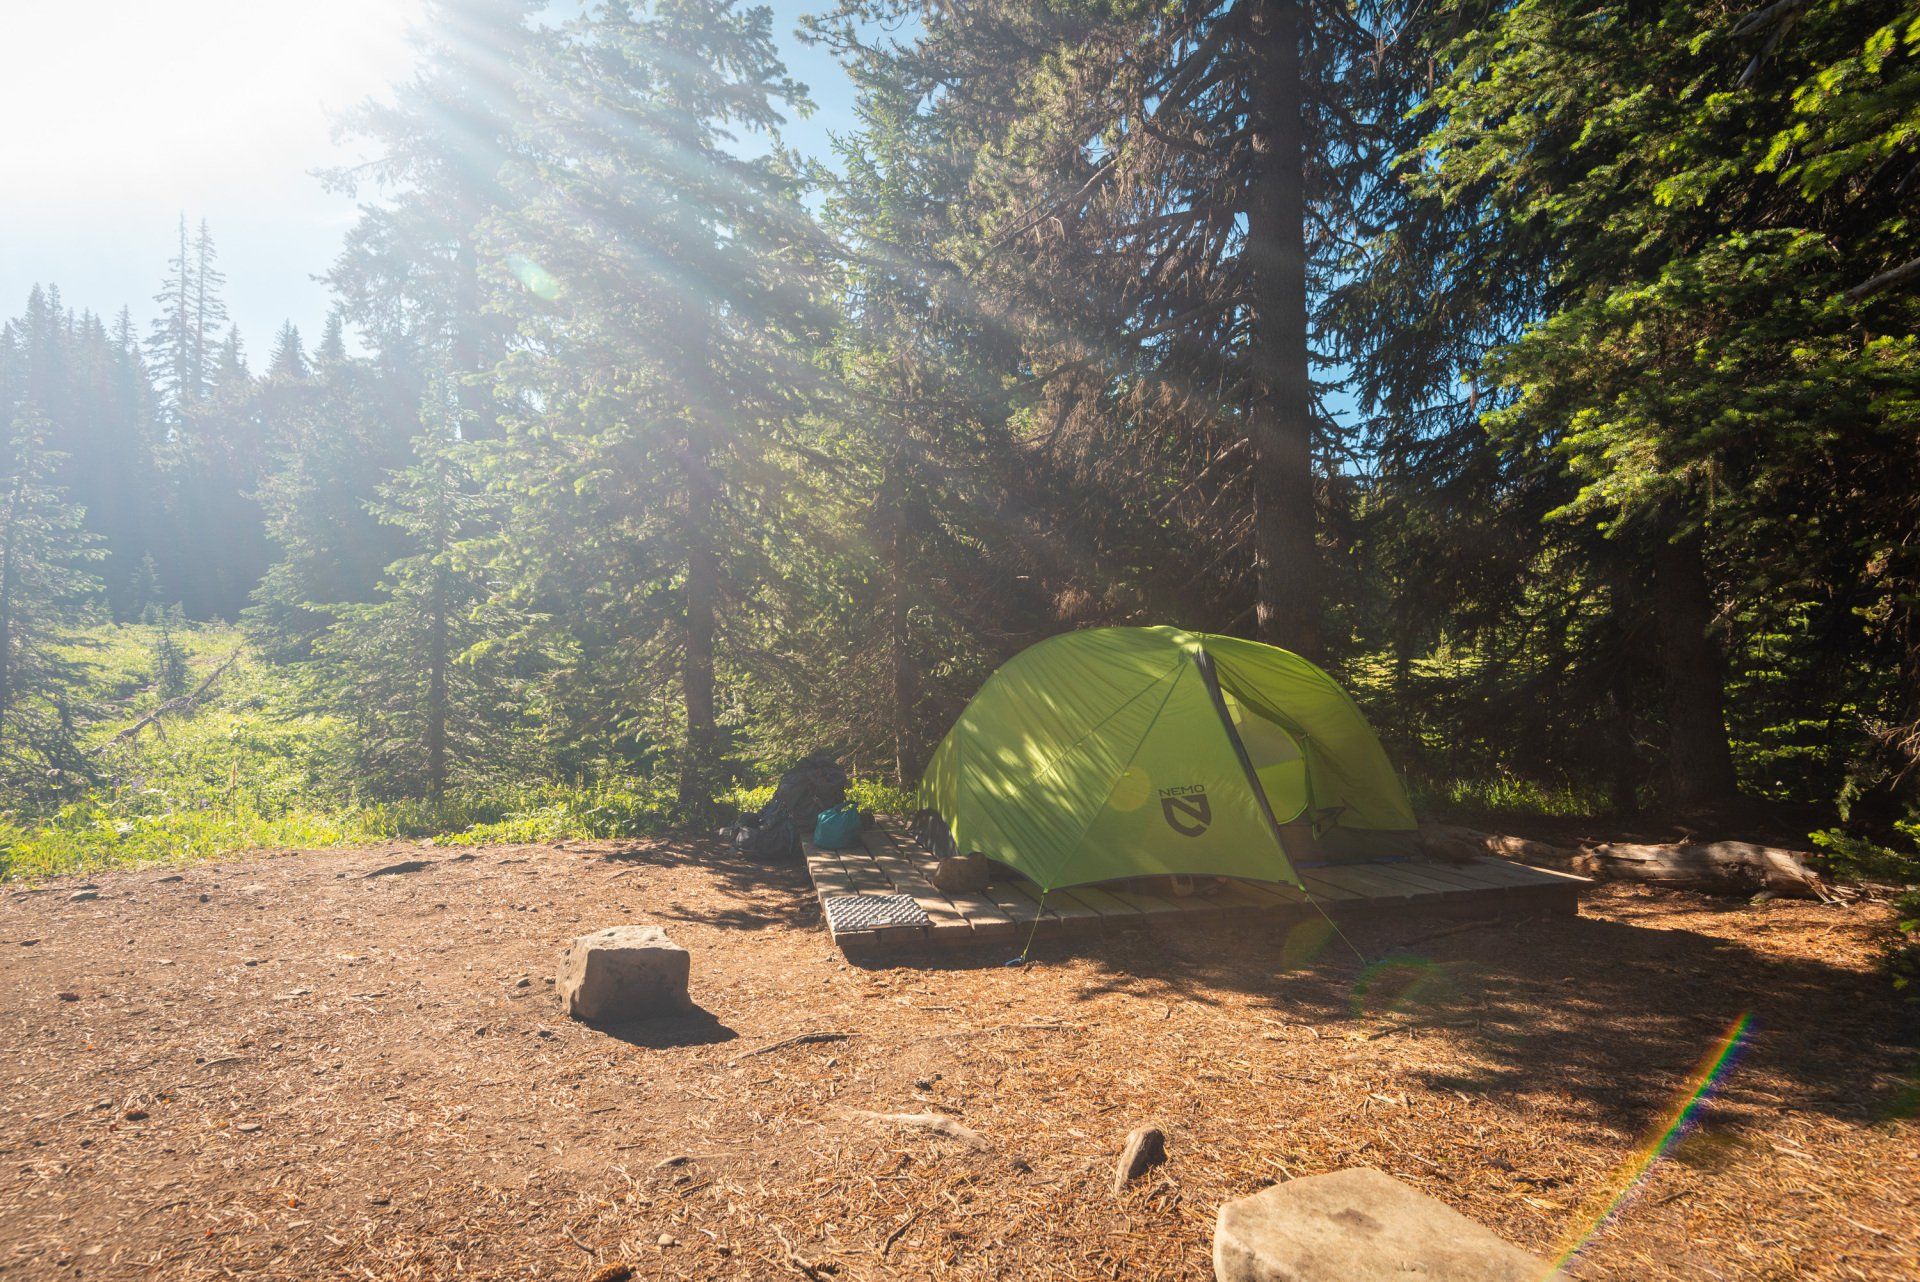
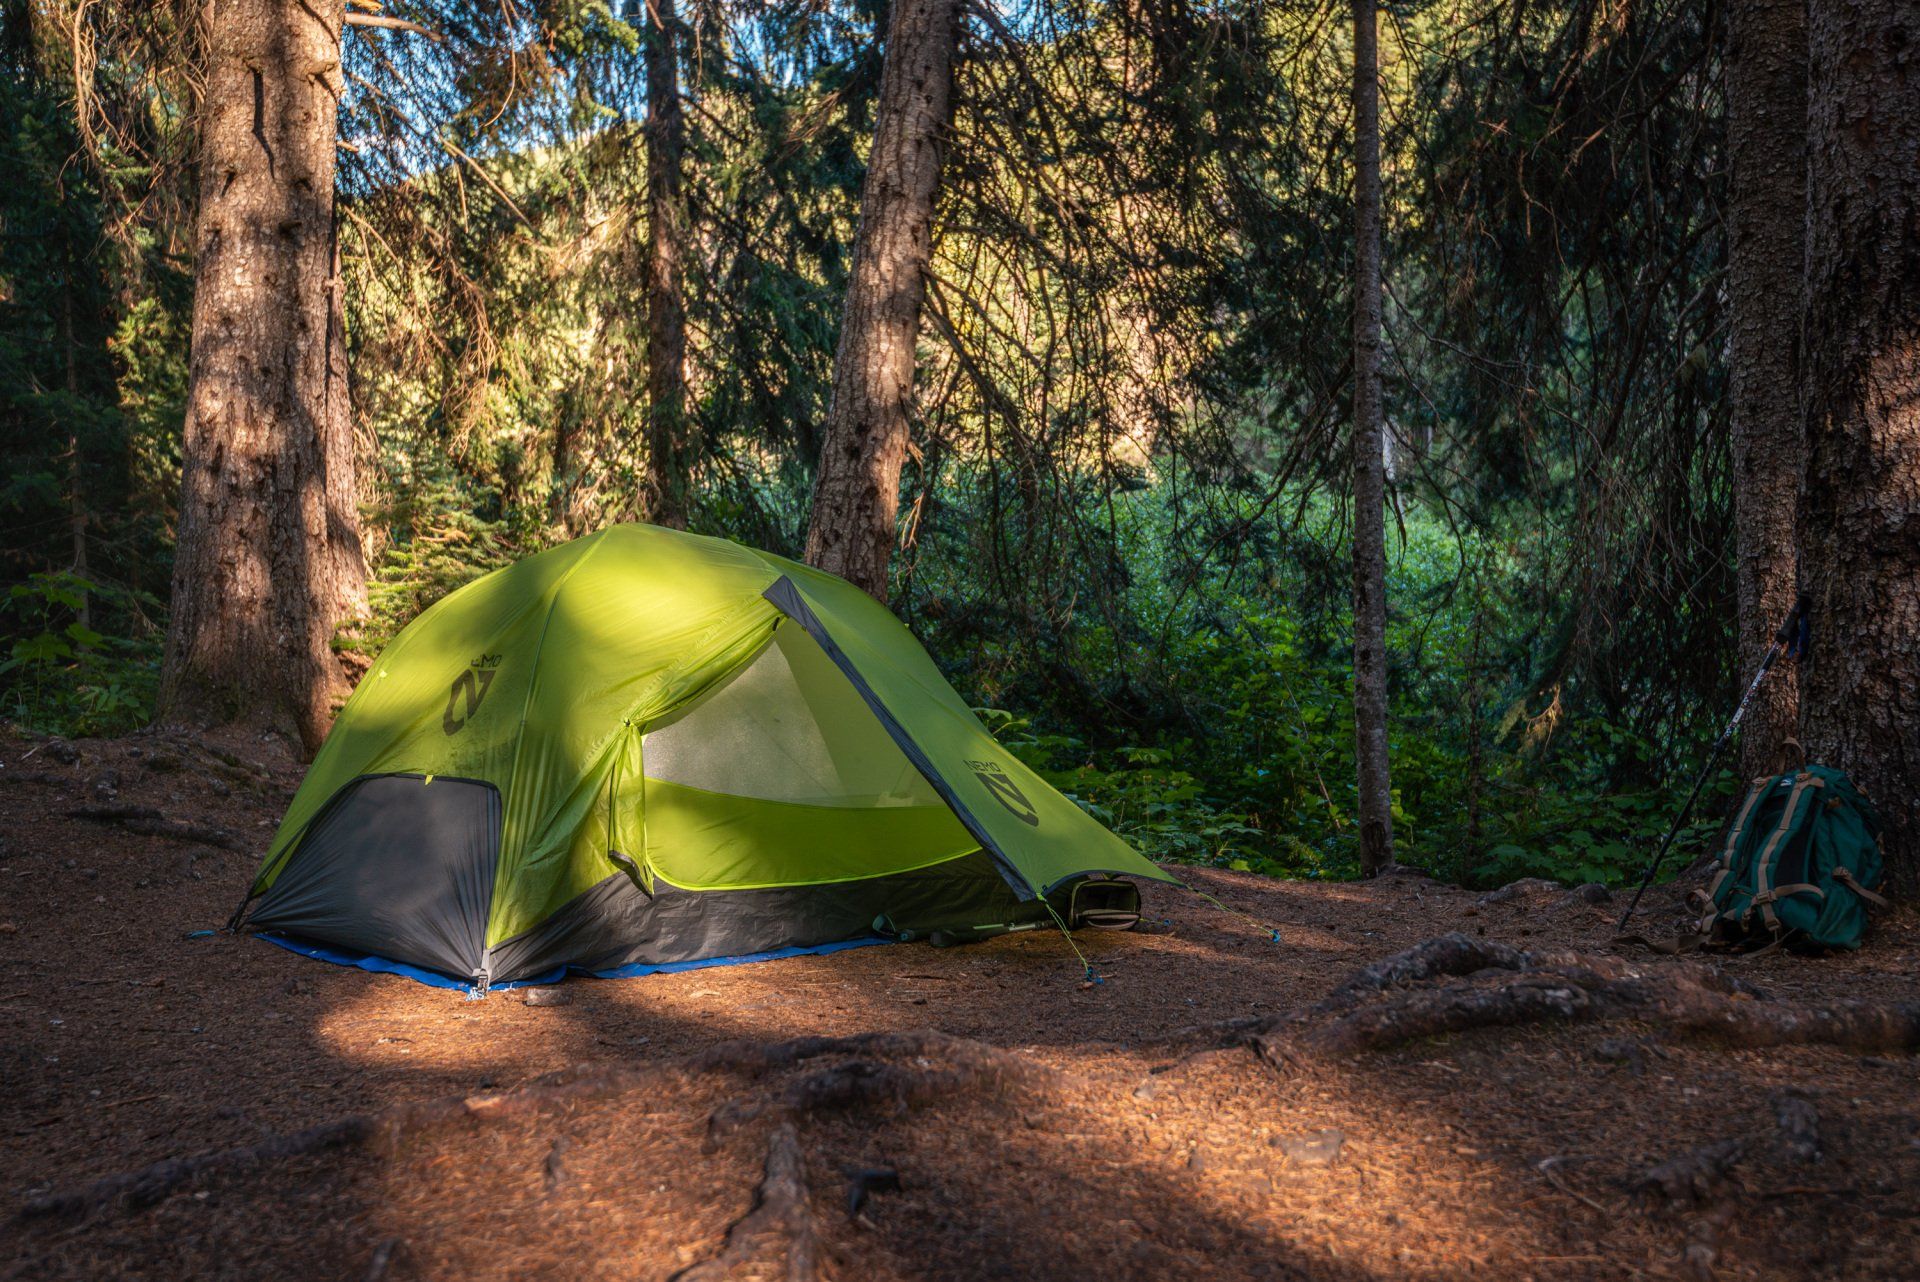
Overall, I really like this tent. It’s been my cozy little home away from home on 9 camping trips as of the time of writing this post and did its job well.
It has a plenty of space for a solo hiker and is pretty tight for 2. When buying it I was intending on traveling alone most of the time, but wanted to have an option to host my husband when he decides to join me 😁 so 2P was an easy decision.
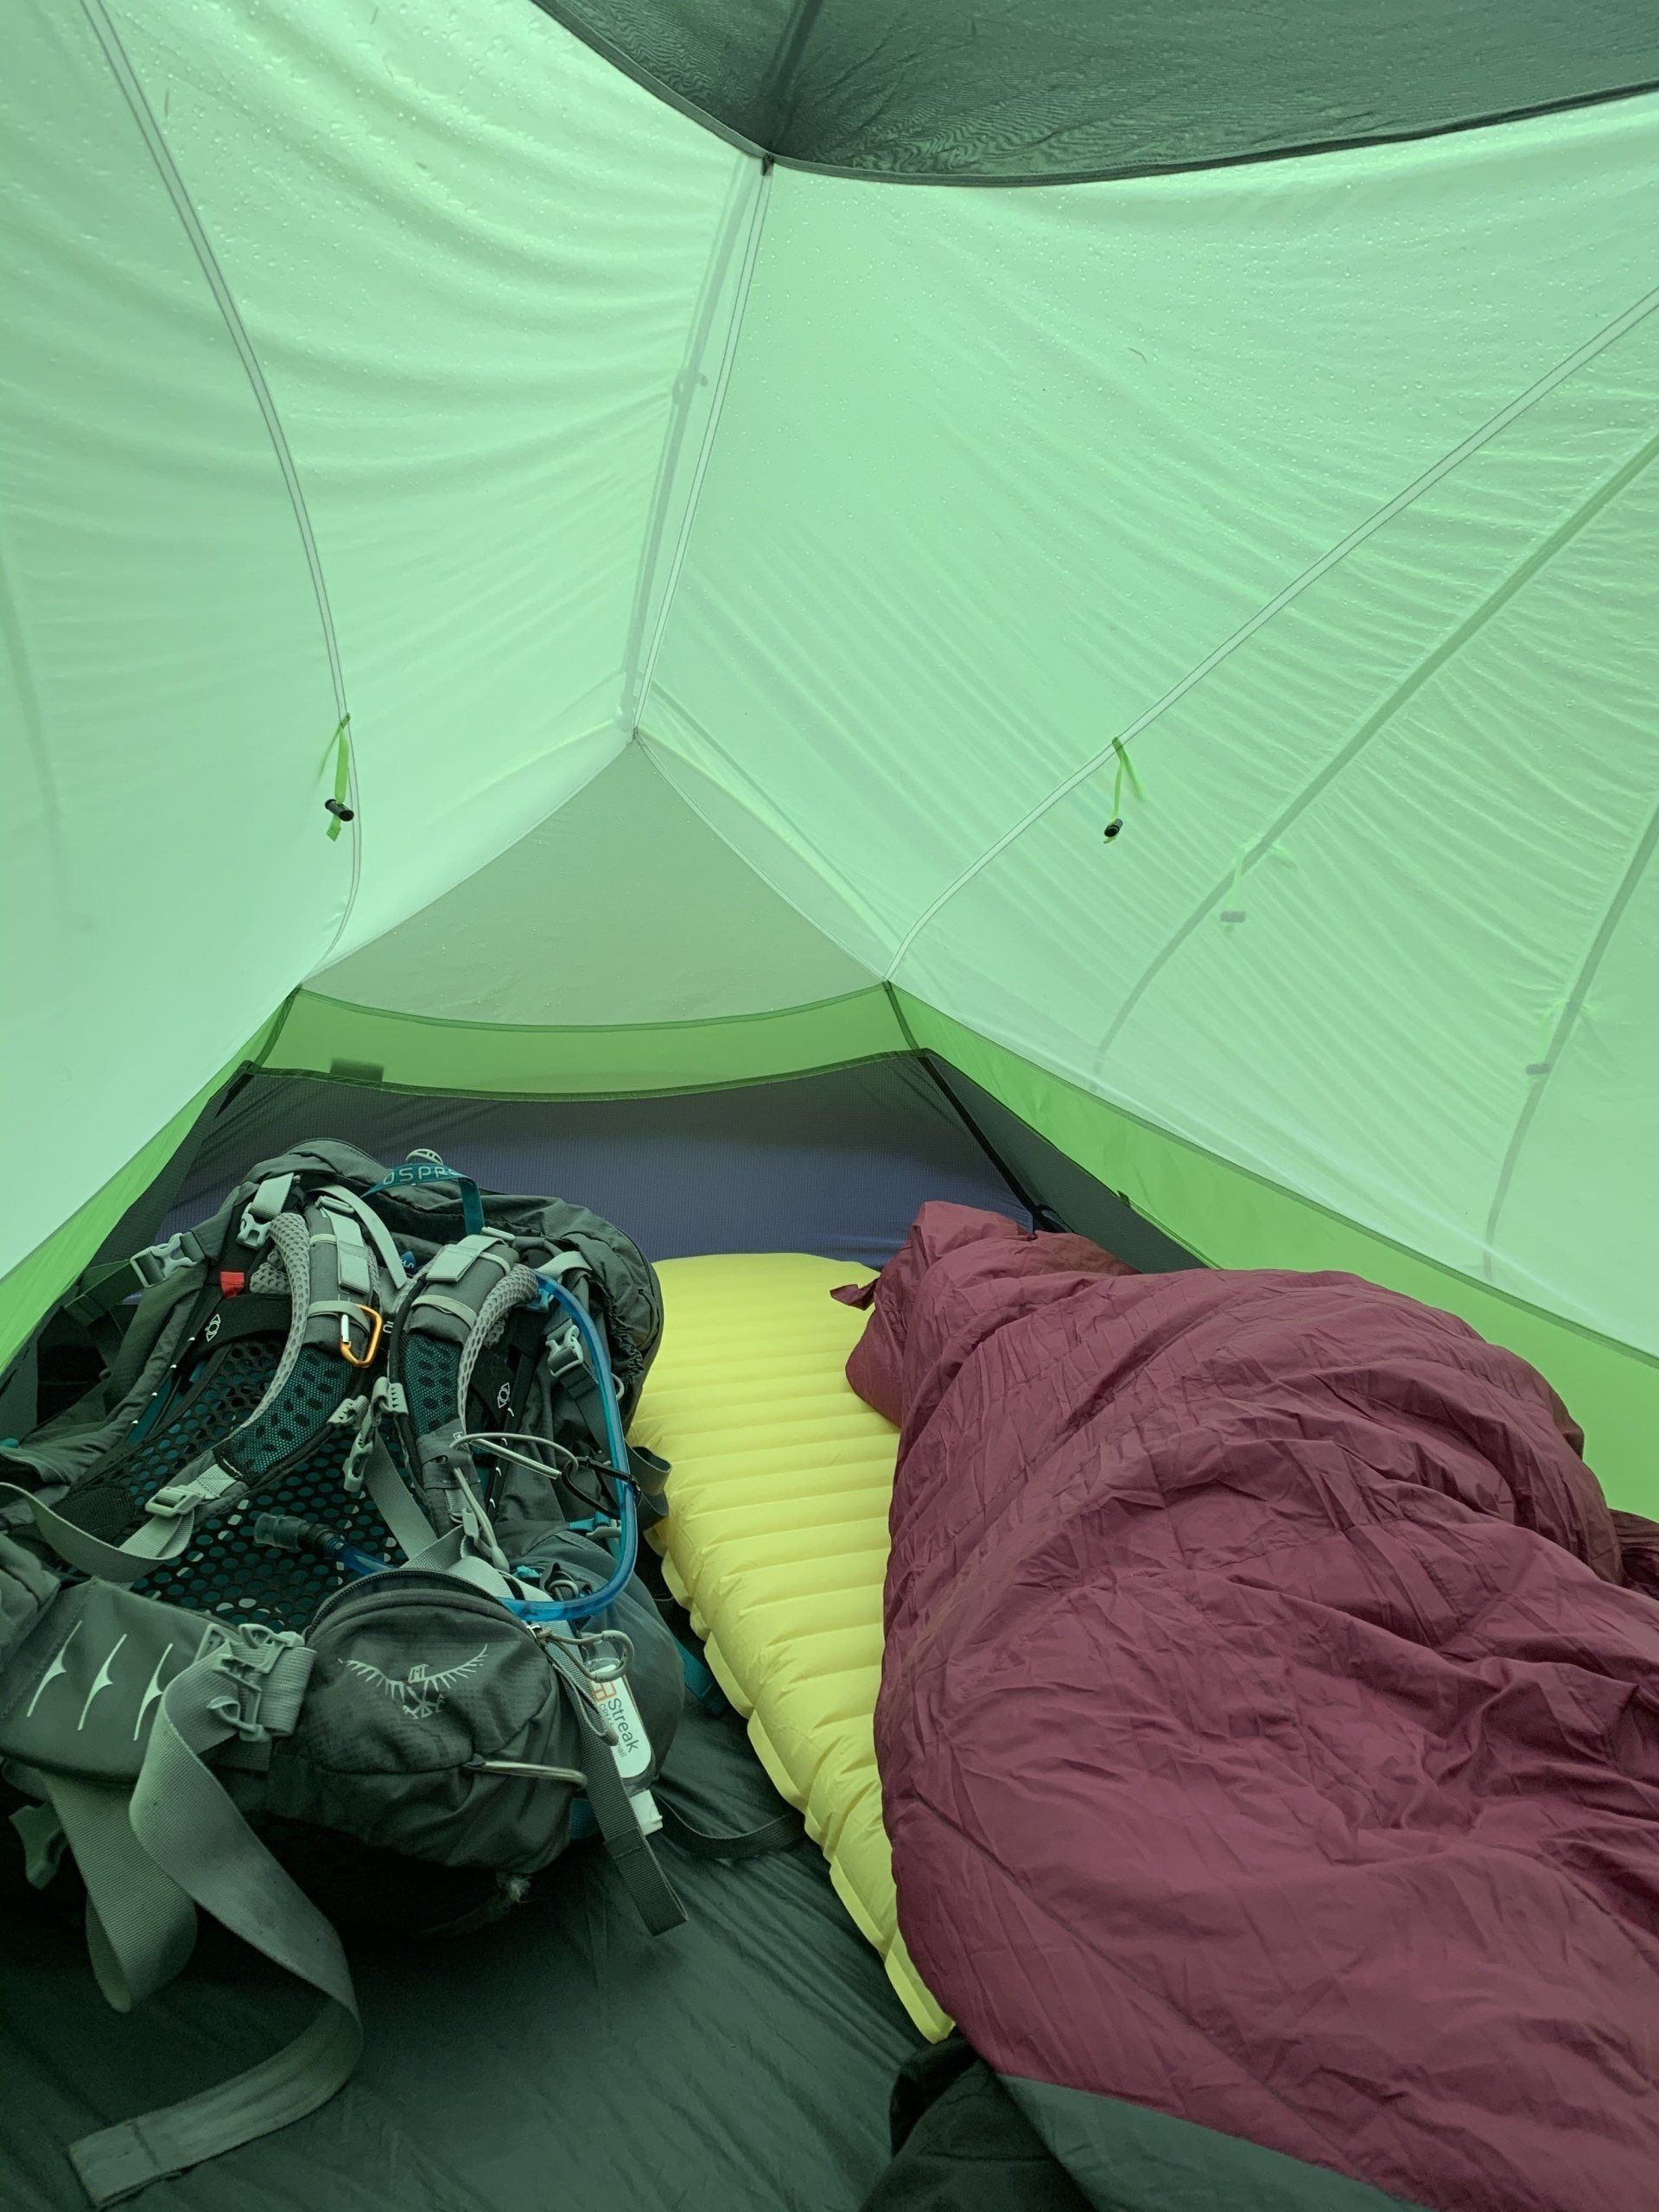
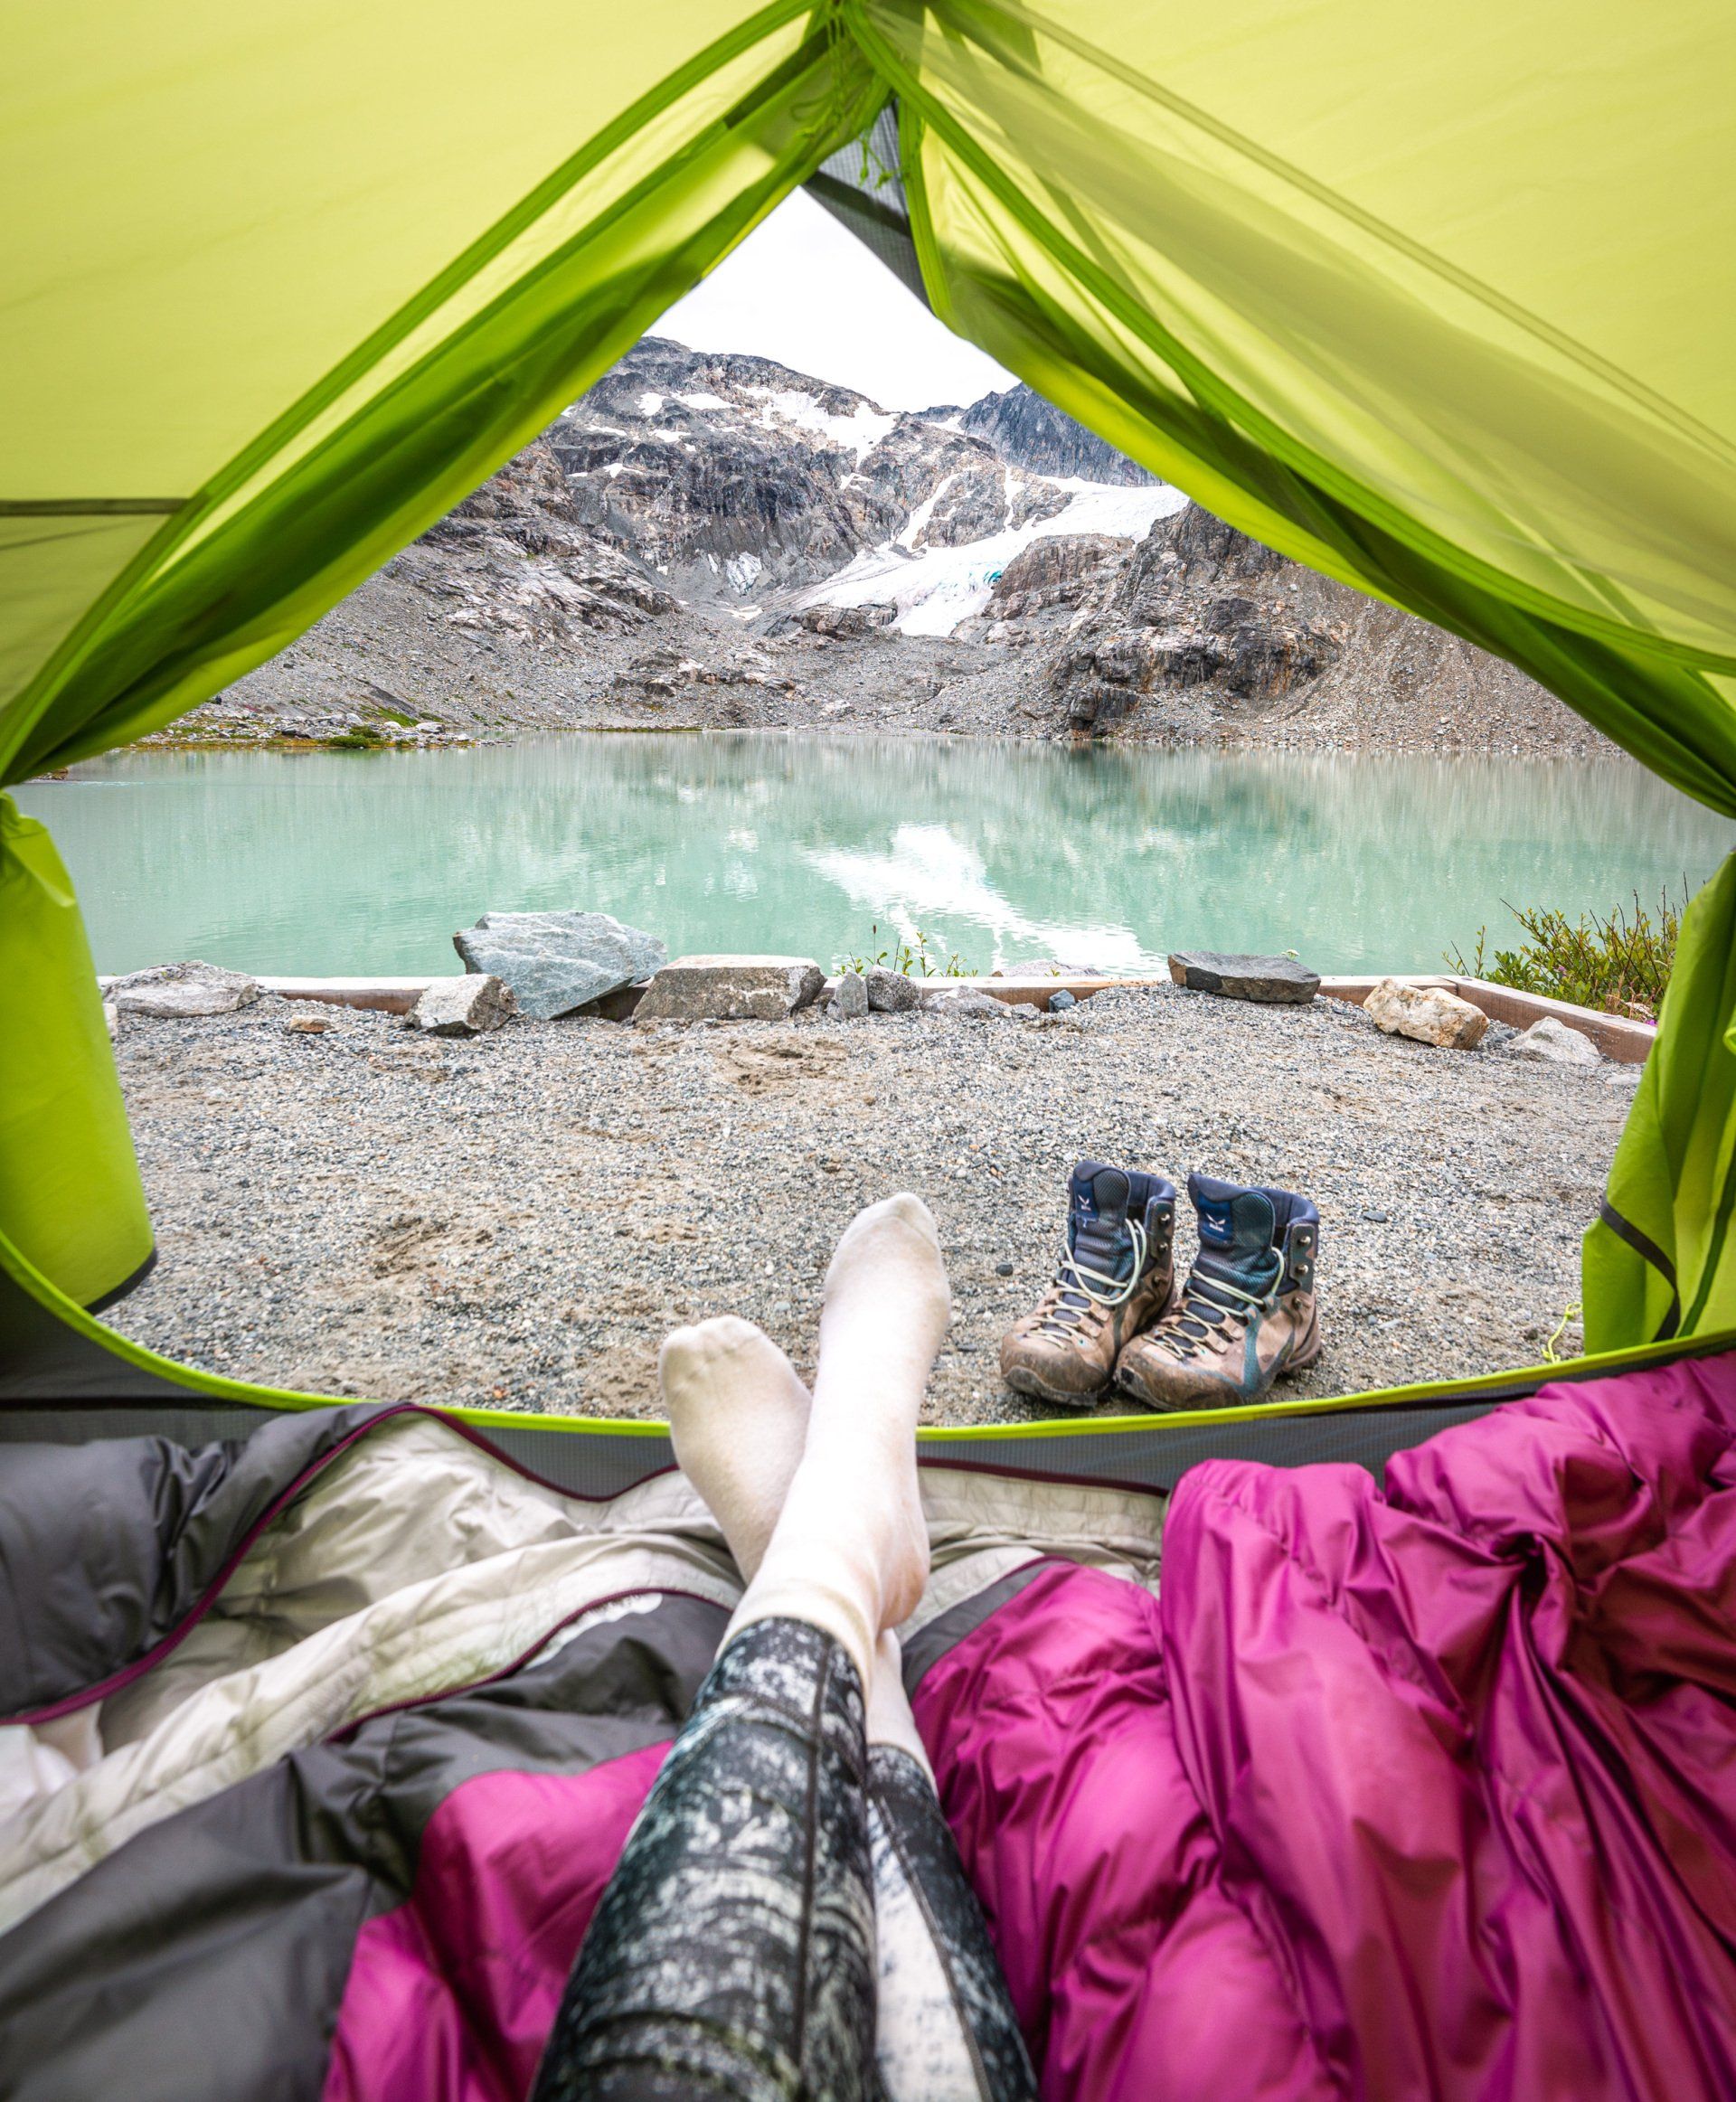
I really like there’s 2 doors and 2 vestibules - I can put all of my gear in the vestibules so that it’s away from rain and strangers’ eyes, but don’t have to put all the dirty stuff inside the tent.
Another cool feature is wall pockets - SO useful for putting small stuff in, and a roof pocket where I usually throw my headlamp. There are also 2 roof pockets that are meant specifically for lamps and have light diffusers, but I prefer using the one that is meant for stuff, since it’s located in the center of the roof.
What I don’t like about Dragonfly 2P
That it broke twice while I was setting my camp, but let me get to it 😅
One thing is that it seems to me that the fabric is too tight when secured to the top ridge pole - I always was afraid it will break, and it eventually did. But! It’s potentially my fault and I’ll explain a tad later.
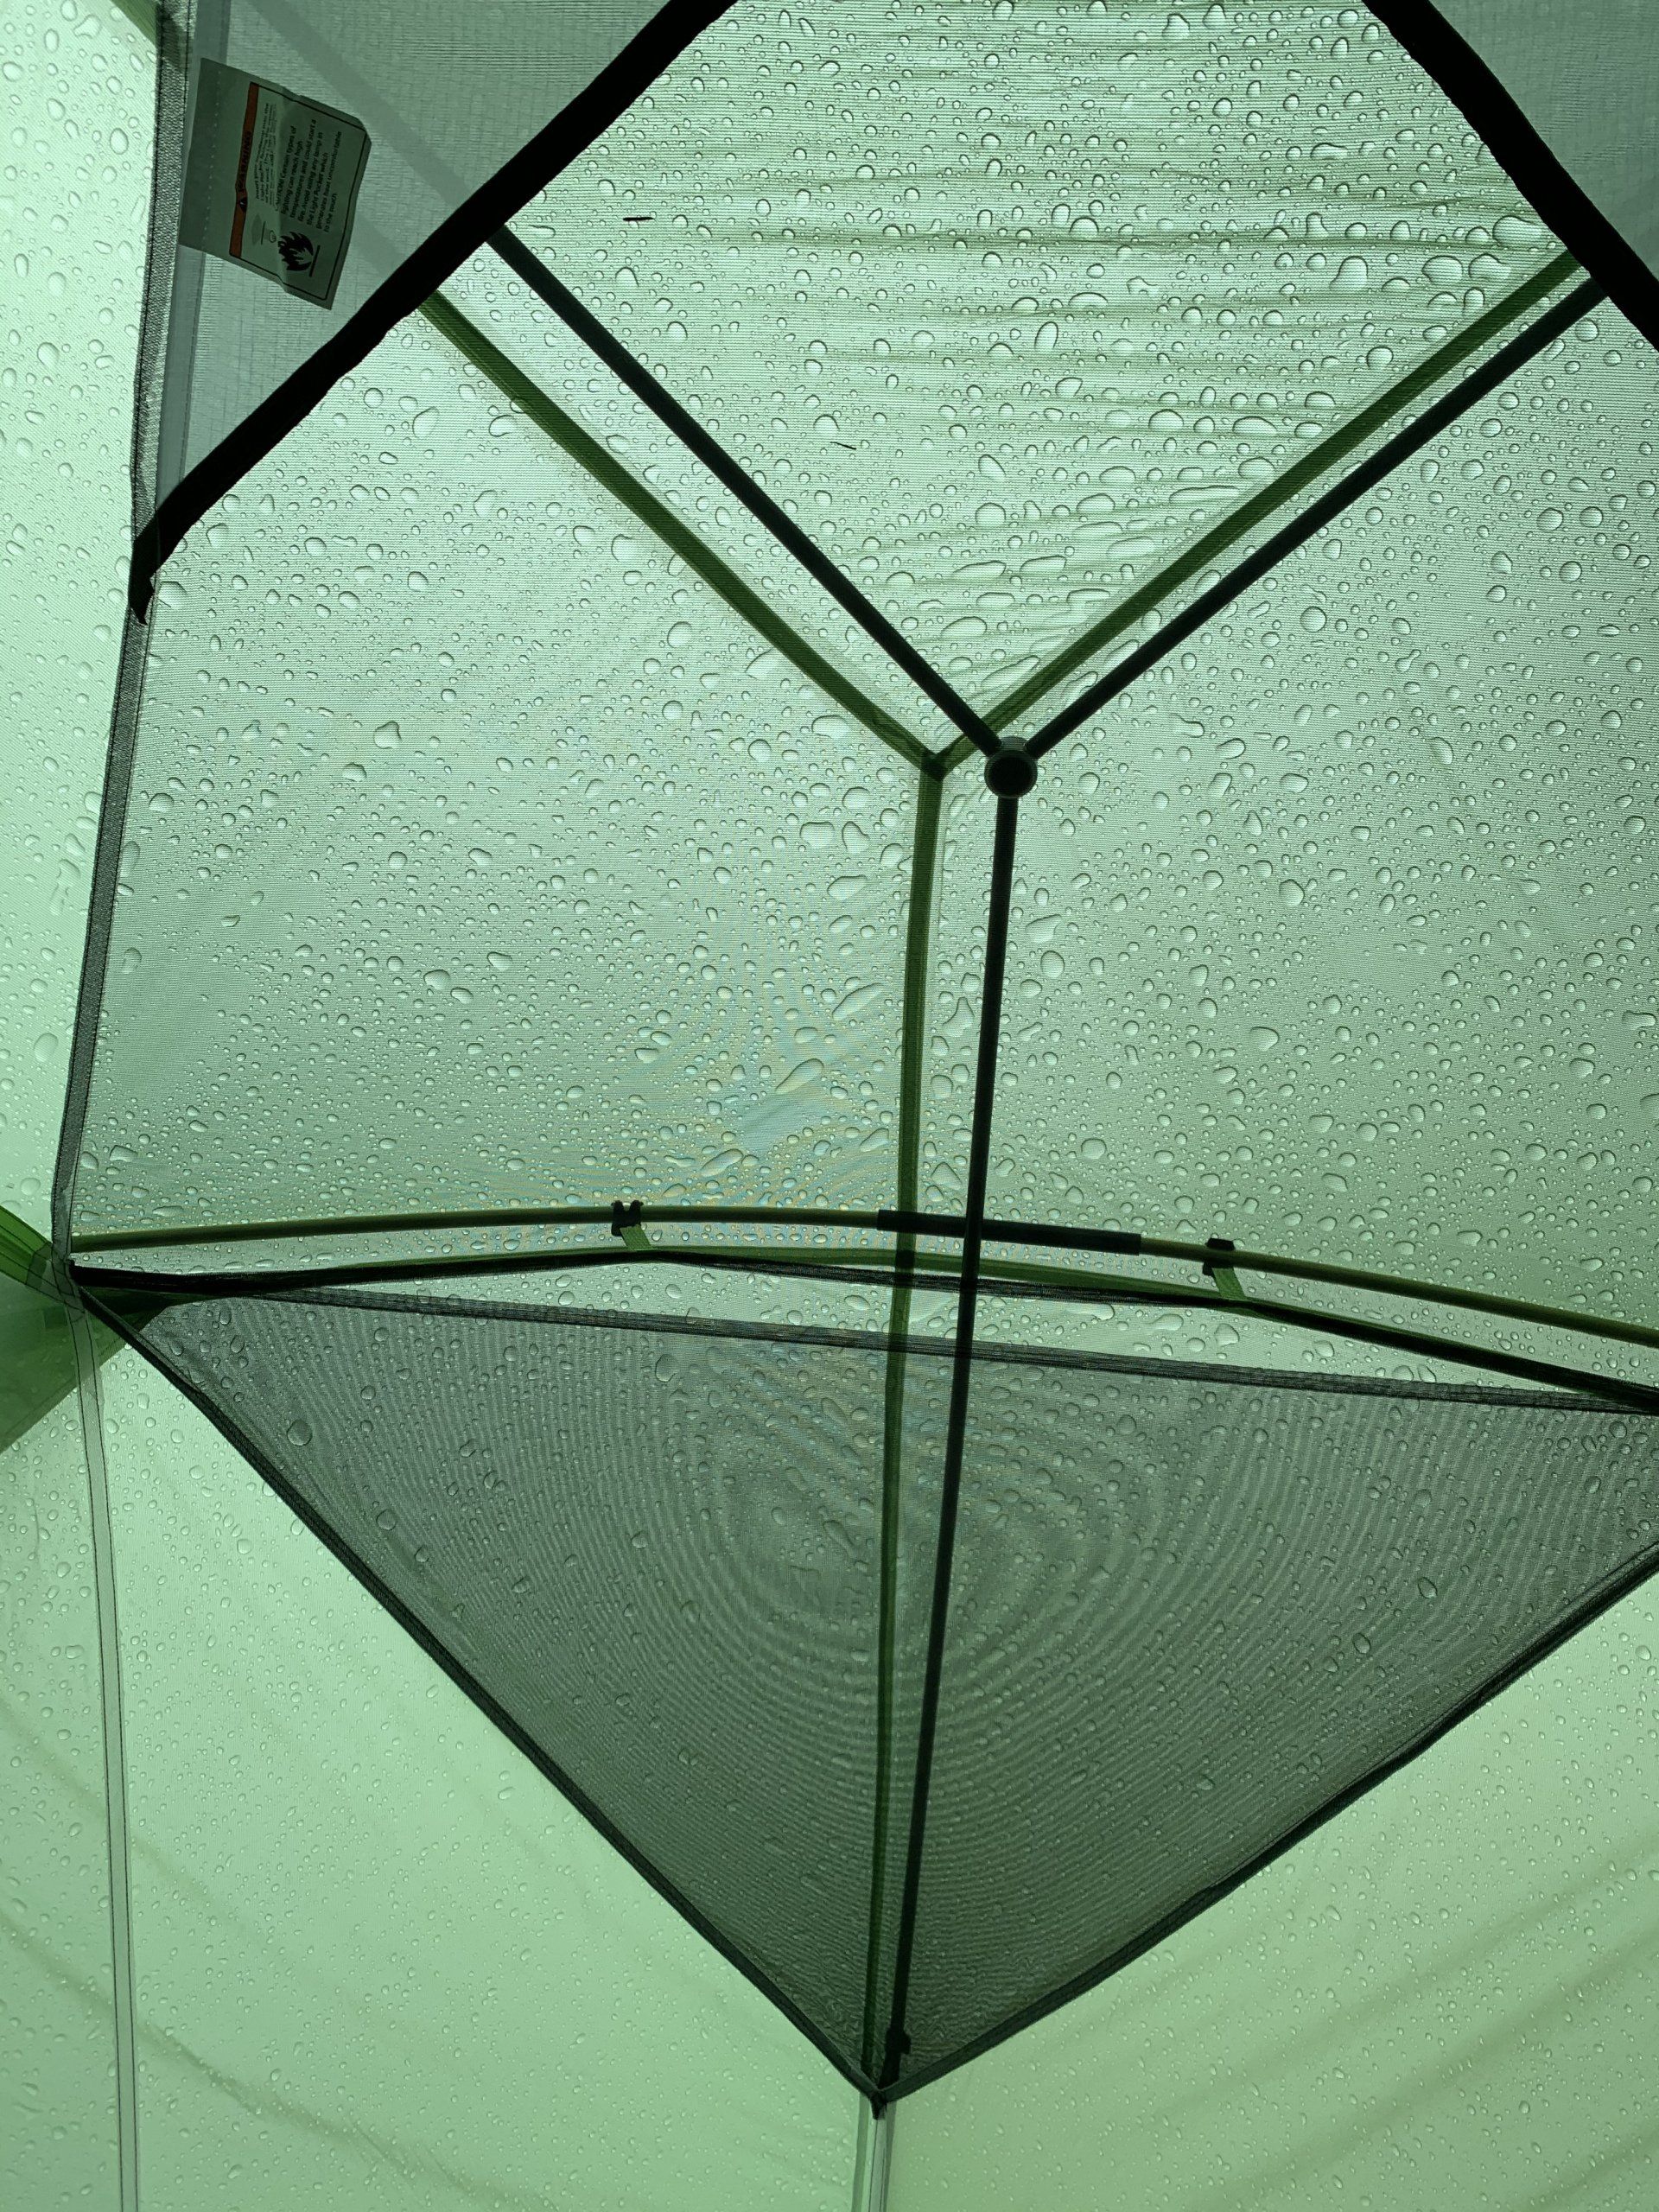
Another thing - I haven’t succeed in managing the condensation that builds up on the walls’ inner side during the night. Dragonfly has 2 vents, one on each door in the rainfly, but the didn’t seem to work even when I slept with both of them open. I don’t know if it’s a design flaw or I’m doing something wrong. Anyway, it’s not that big of an issue. If I can, I leave the tent pitched for a few hours after I wake up and it dries. If it’s not possible, I ALWAYS hang it to dry at home after the trip so it won’t get mildew.
The footprint
I kinda wanted to talk about it separately and give some advice to owners of similar UL tents.
So, like many other tents in the ultralight category, Nemo Dragonfly comes without footprint, but it can be purchased separately.
I didn’t really want to invest the $55 in their footprint, but didn’t want to go without, either. My fear was that the thin floor material will get poked by some sharp stick or stone and the water protection will be compromised. And no, you don’t need the footprint to help with the waterproofness! The floor won’t let the water in anyway, as long as it has no holes.
So I was looking to DIY a footprint from some more rugged material, but I didn’t care whether this material would be waterproof by itself.
I read online that people are using Tyvek, but - I don’t have friends that work in construction and I also failed to find a piece of Tyvek for an affordable price online - considering that the original footprint would cost about $55, for me it didn’t make sense to buy anything for more than $20 and then have to deal with cutting it etc.
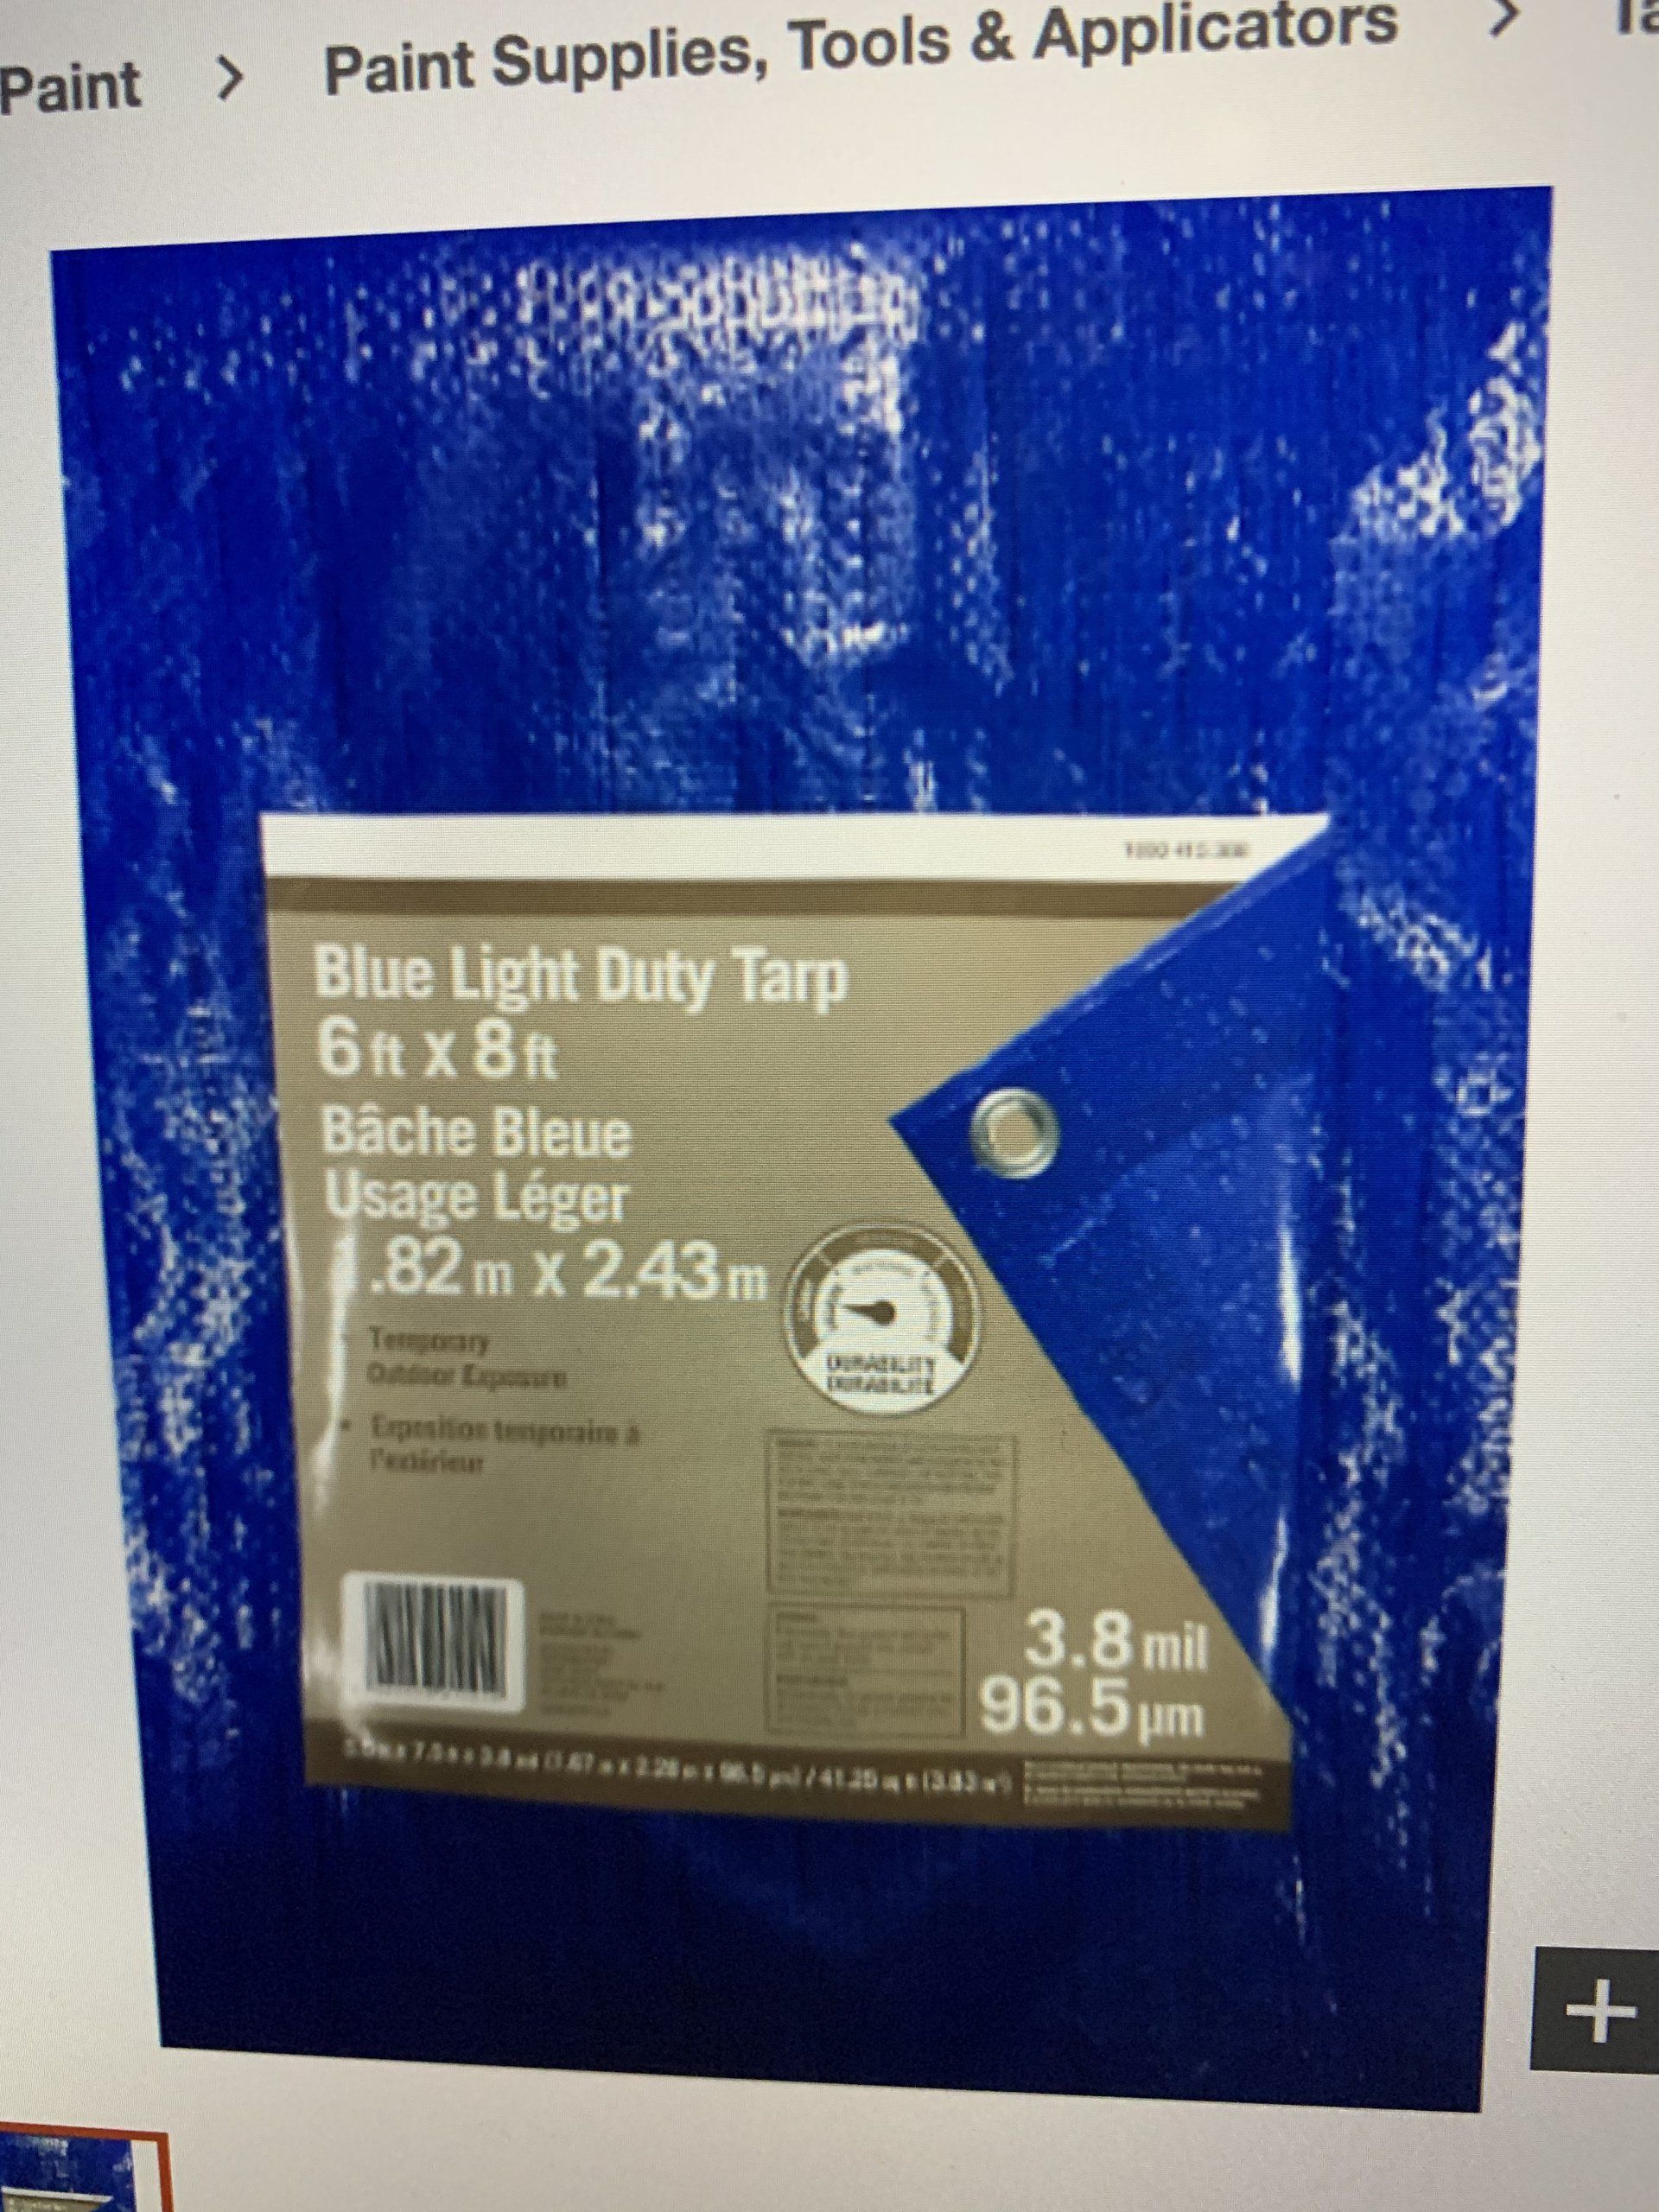
So I ended up buying a piece of cheap tarp from Home Depot. It cost only about $12, fairly lightweight and fairly durable as well for my purpose. It also is actually waterproof (at least to some point), despite this specific model wasn’t labeled as waterproof.
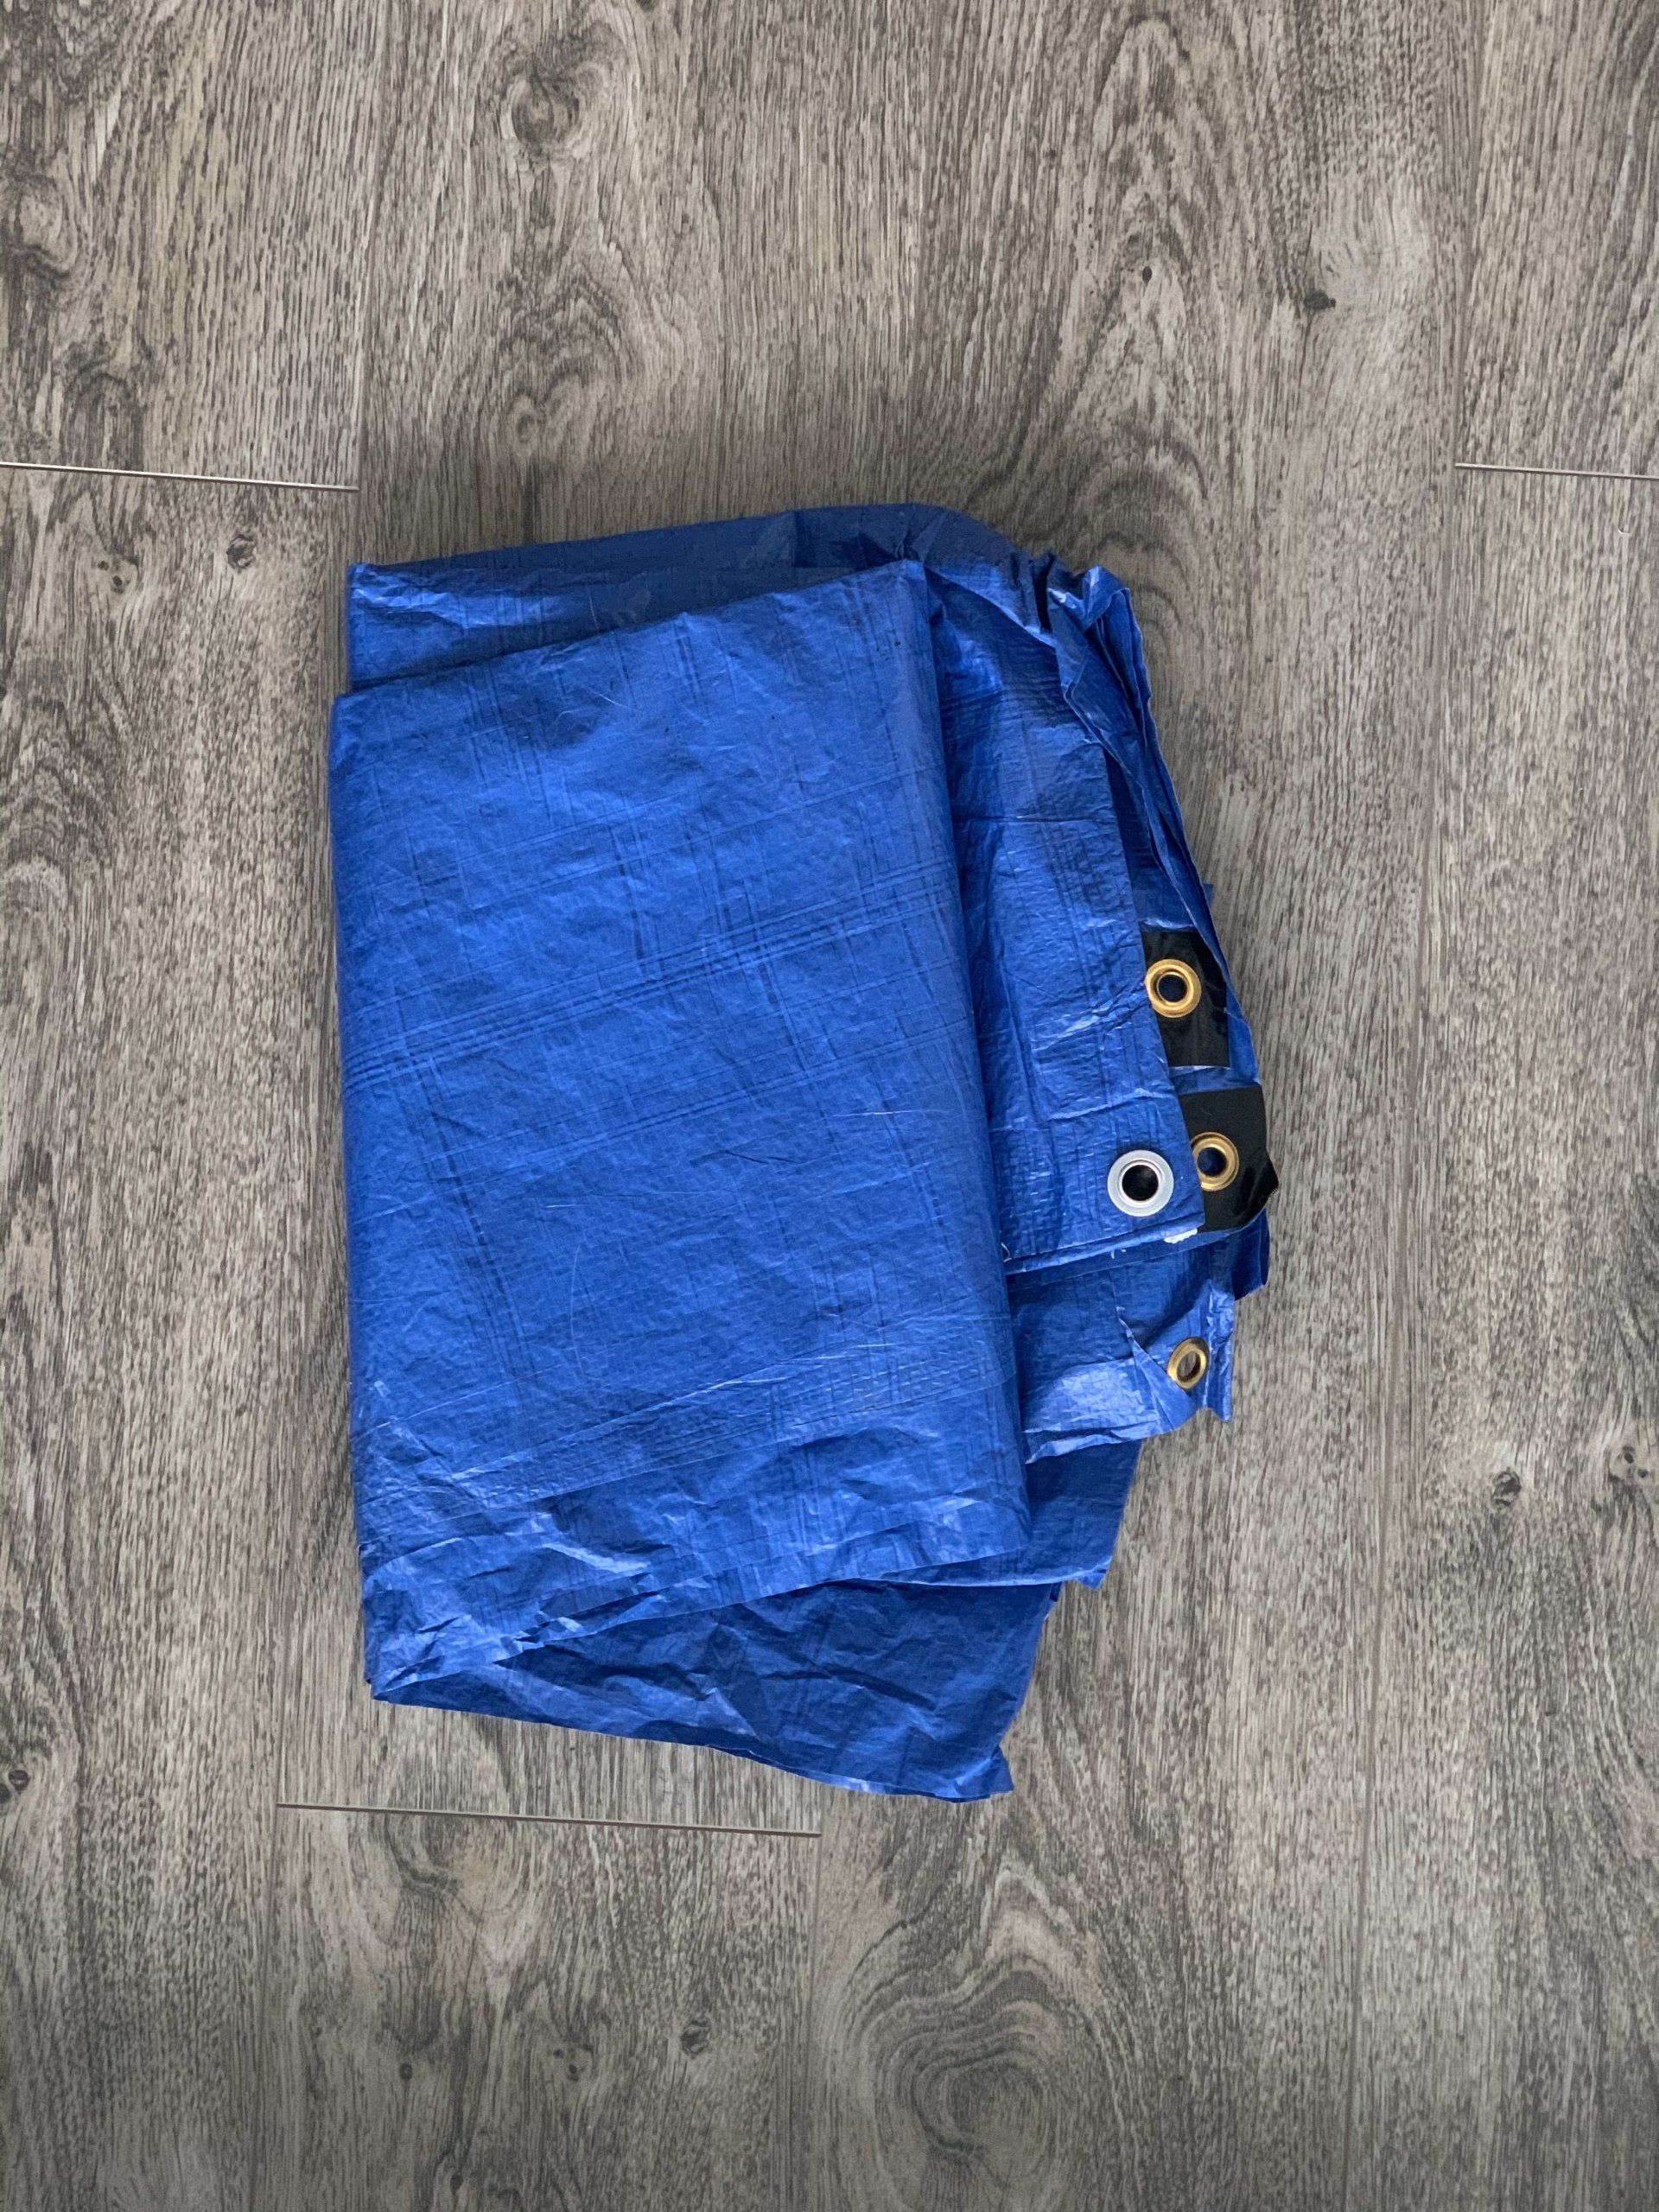
I cut it to size to be a bit narrower than the tent floor - make sure to have your footprint be just a tad smaller than your tent. Otherwise the rain water may accumulate on the outstanding pieces and then flow under your tent. And you’ll have a puddle beneath you. And even though the water shouldn’t get inside the tent, it probably won’t be fun.
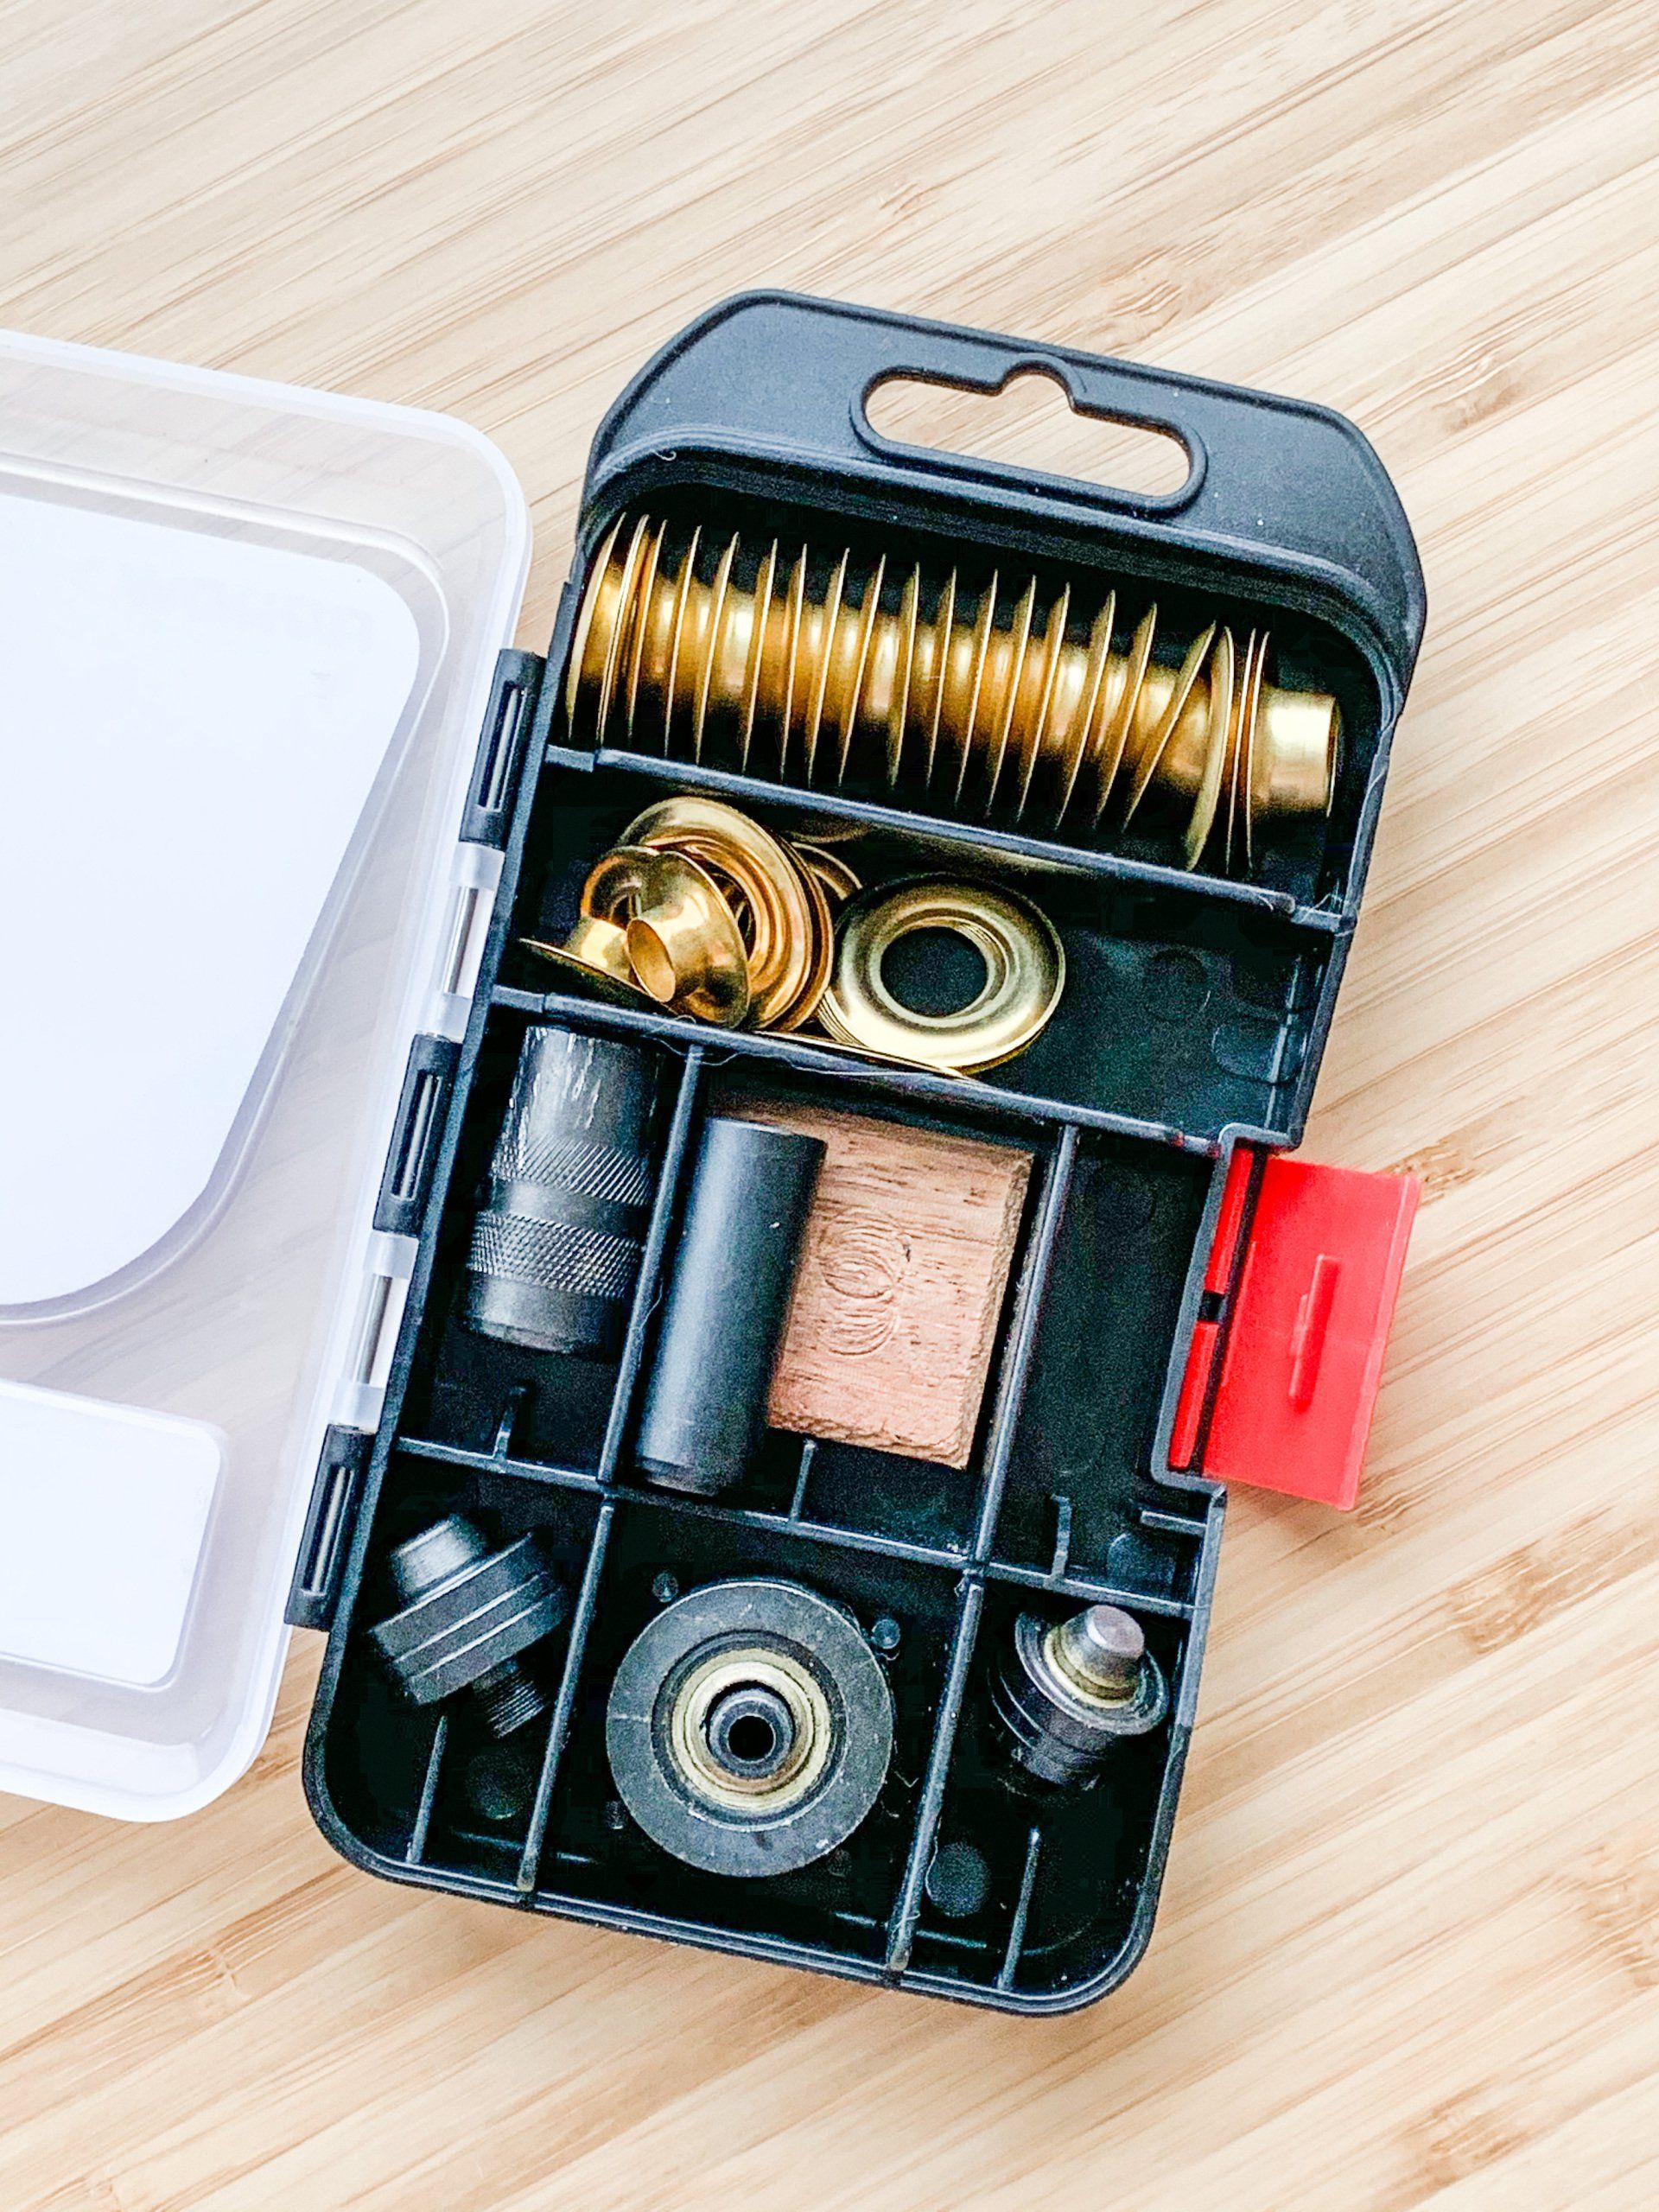
The latest addition to the footprint were grommets I put in the footprint corners to allow securing it to the tent pegs because otherwise it does tend to move when windy. I haven’t actually used them yet. Need to buy some more cord to tie to the grommets and make some longer guy lines, as these coming with the tent proved to be too short.
Overall it did a pretty good job at reducing the abrasion of my tent floor, so if you don’t have access to Tyvek, from my experience this tarp is decent.
So how I broke the tent
I tend to believe now that both times were my fault, even though at the very moment I wanted to blame Nemo 😬
The first time happened on my trip to Coquihalla where I went to camp near the Flatiron. When I arrived at the camp, it was very windy with really strong gusts. It didn’t bother me much, I wanted a spot with a lake view and figured I will guy the tent out properly and will be fine.
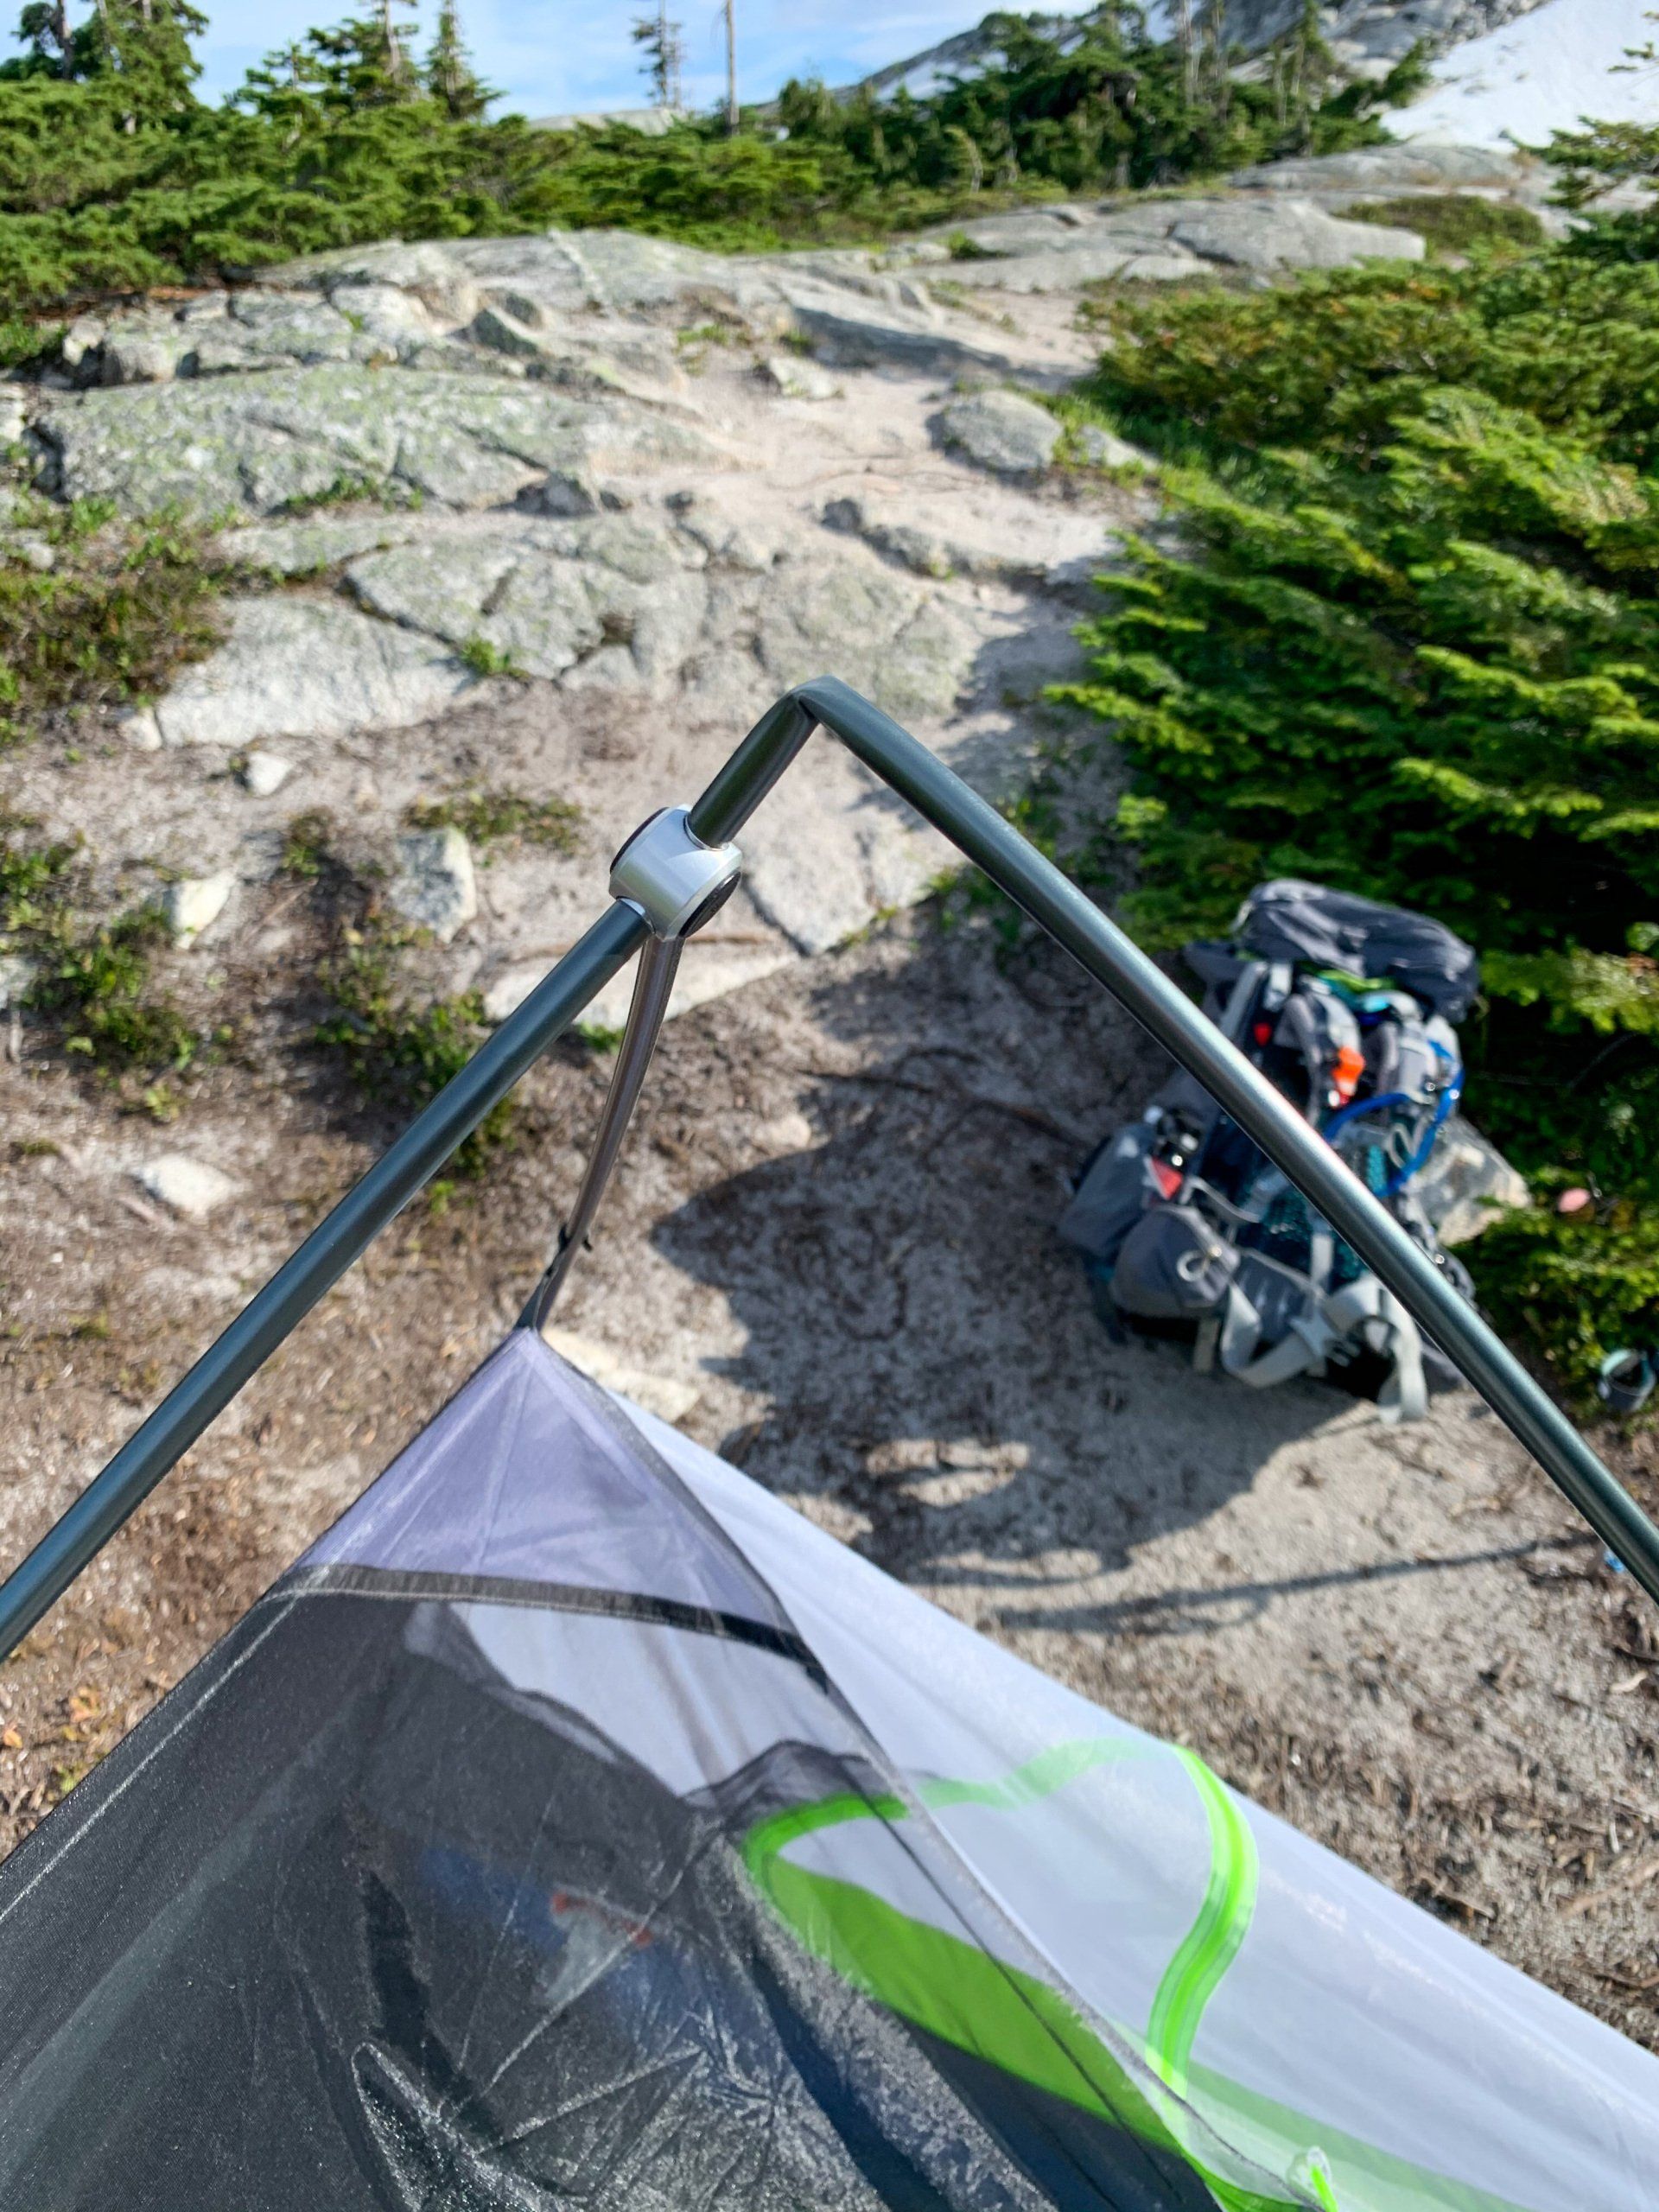
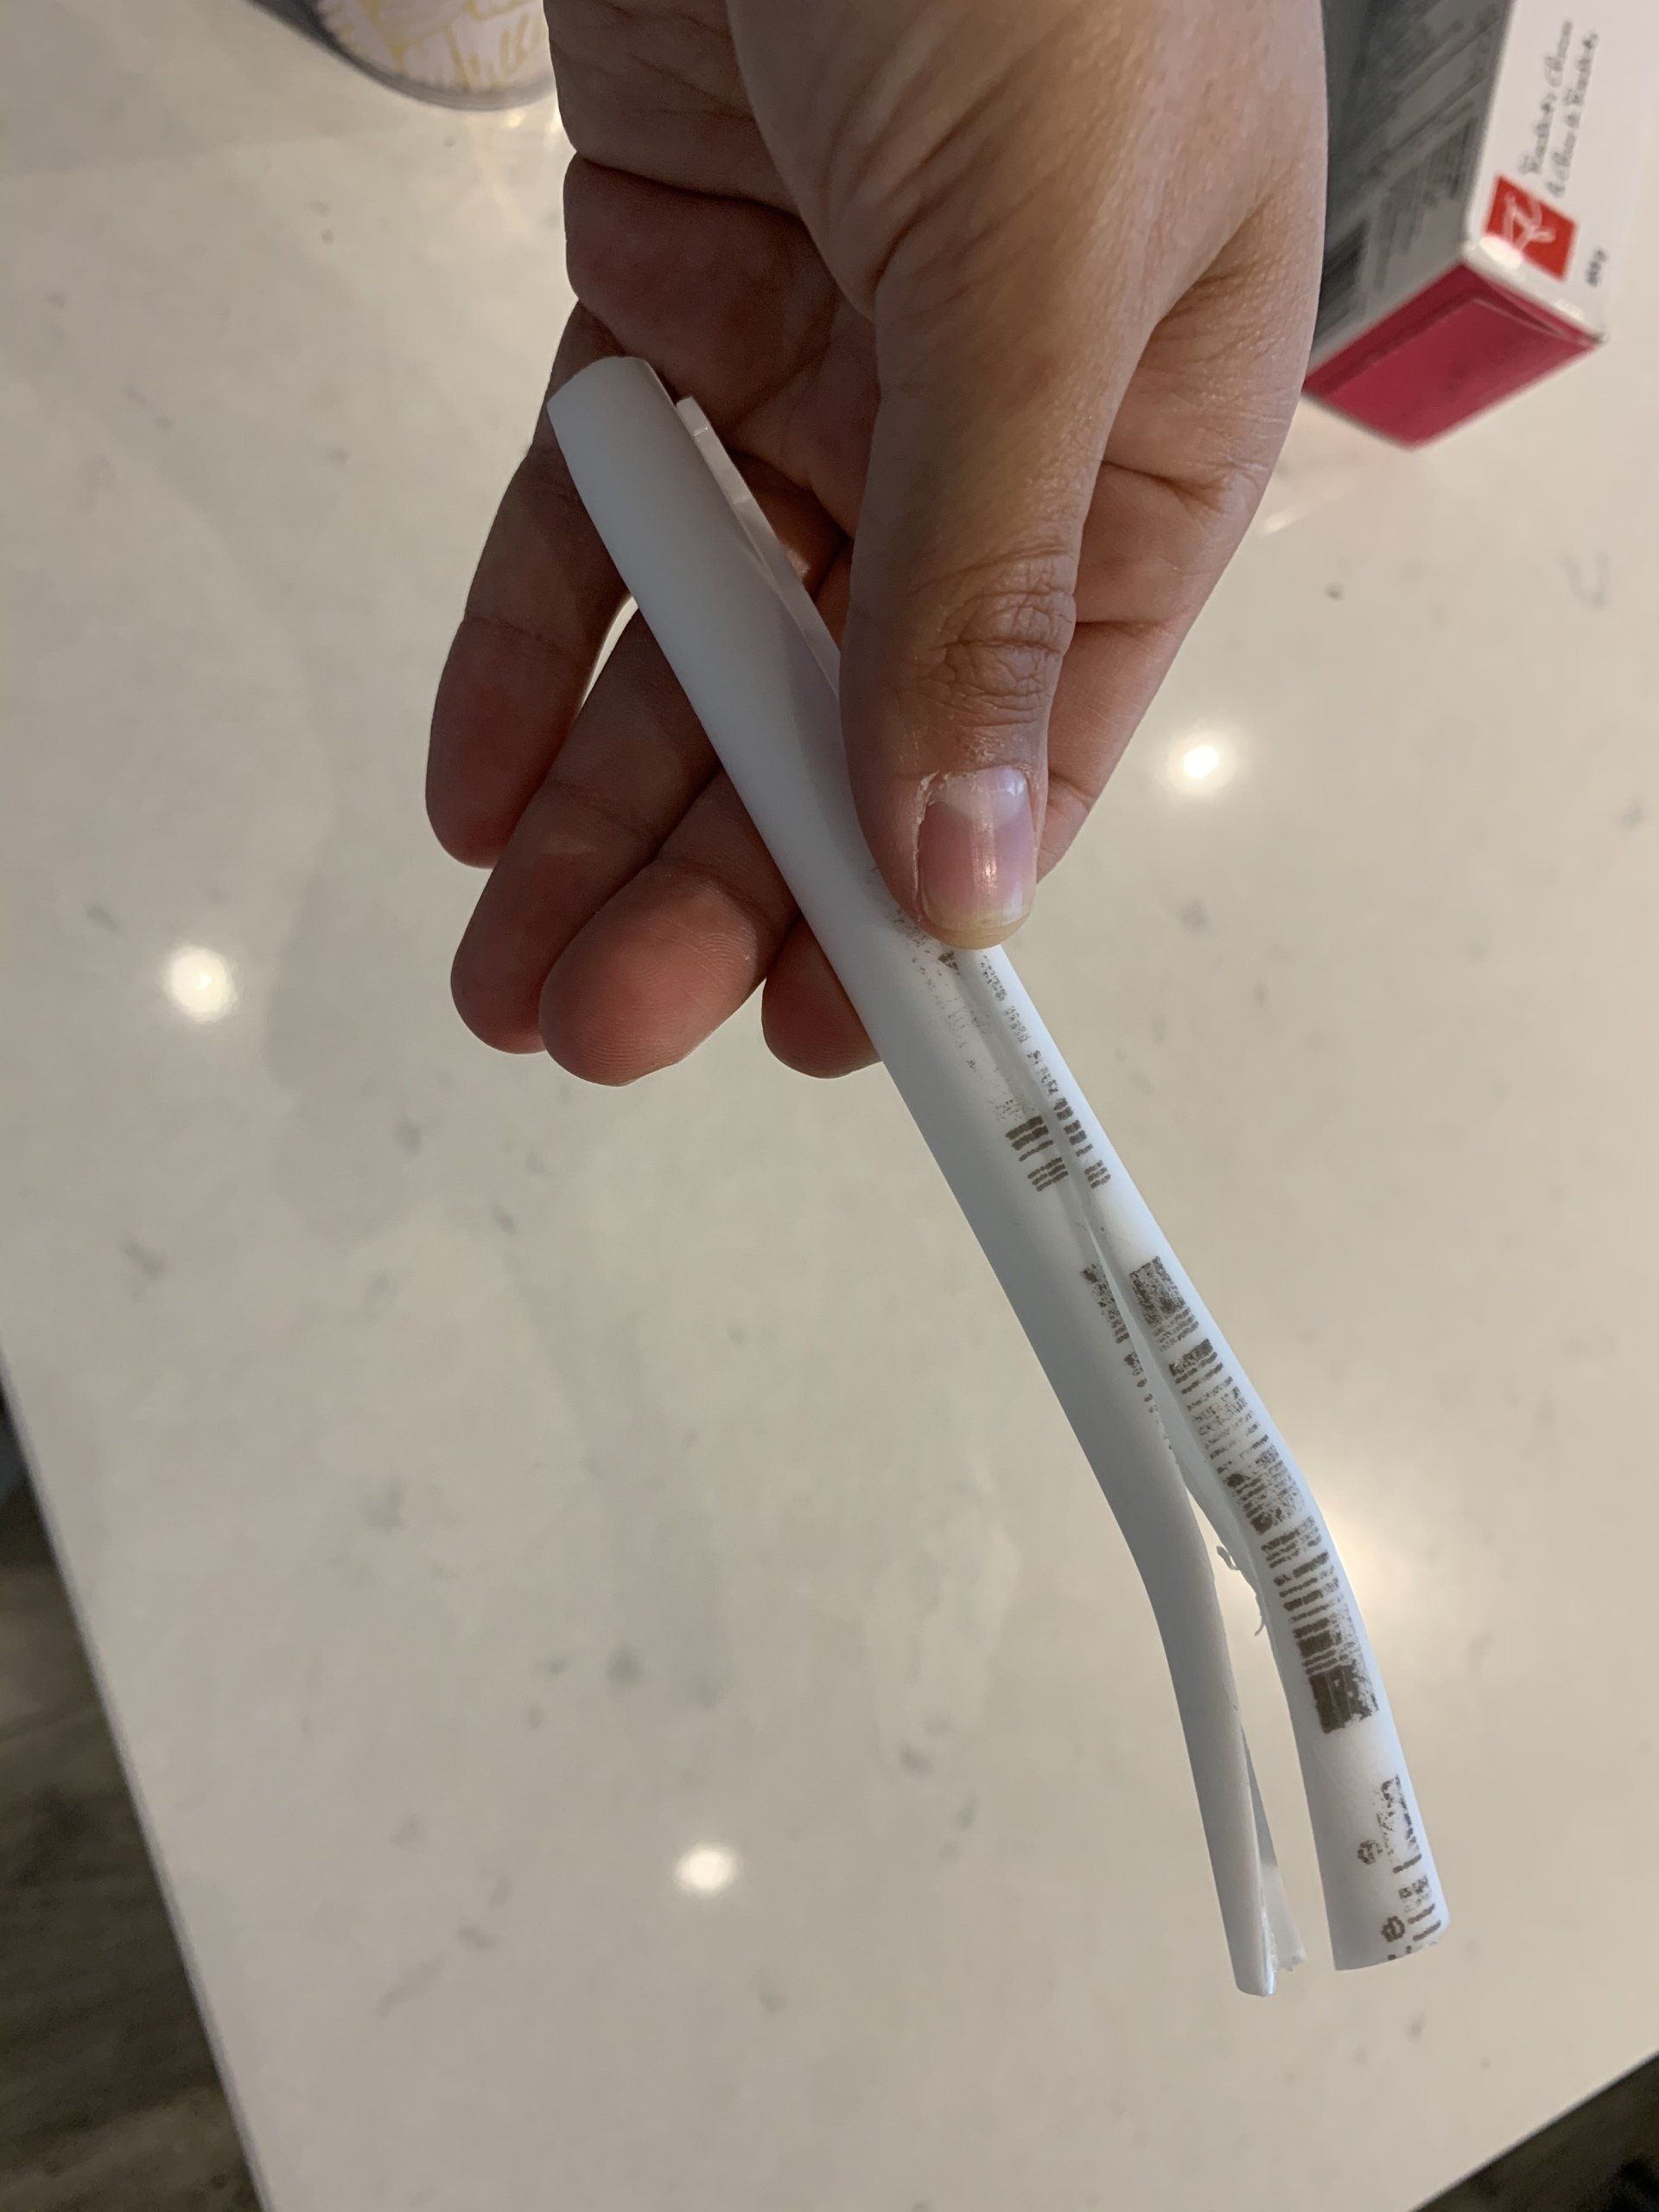
I started to assemble the tent which was challenging in the wind considering I was alone, but I was slowly managing. I put the rainfly on and started to secure it when another strong gust bent the Dragonfly longer ridge line to the ground. I realized that it has broke one of the tent pole segments when trying to unbend it.
Will leave the details about my emotions at that moment to a post about that particular trip, but I wasn’t pleased, to say the least. Furthermore, I didn’t have any duct tape with me, as some was wrapped around my hiking pole that has broke recently and I obviously have left it at home. Well…

Lesson number one - opt for a sheltered spot rather than a spot with a view in case of strong winds. Ultralight equipment often comes with some compromise on durability. You can probably break these poles with your hands. It’s the trade off of weight and how much material there is to withstand the different forces. I was disappointed, but it is the way it is. Maybe there are more durable ultralight tents? Let me know 😉
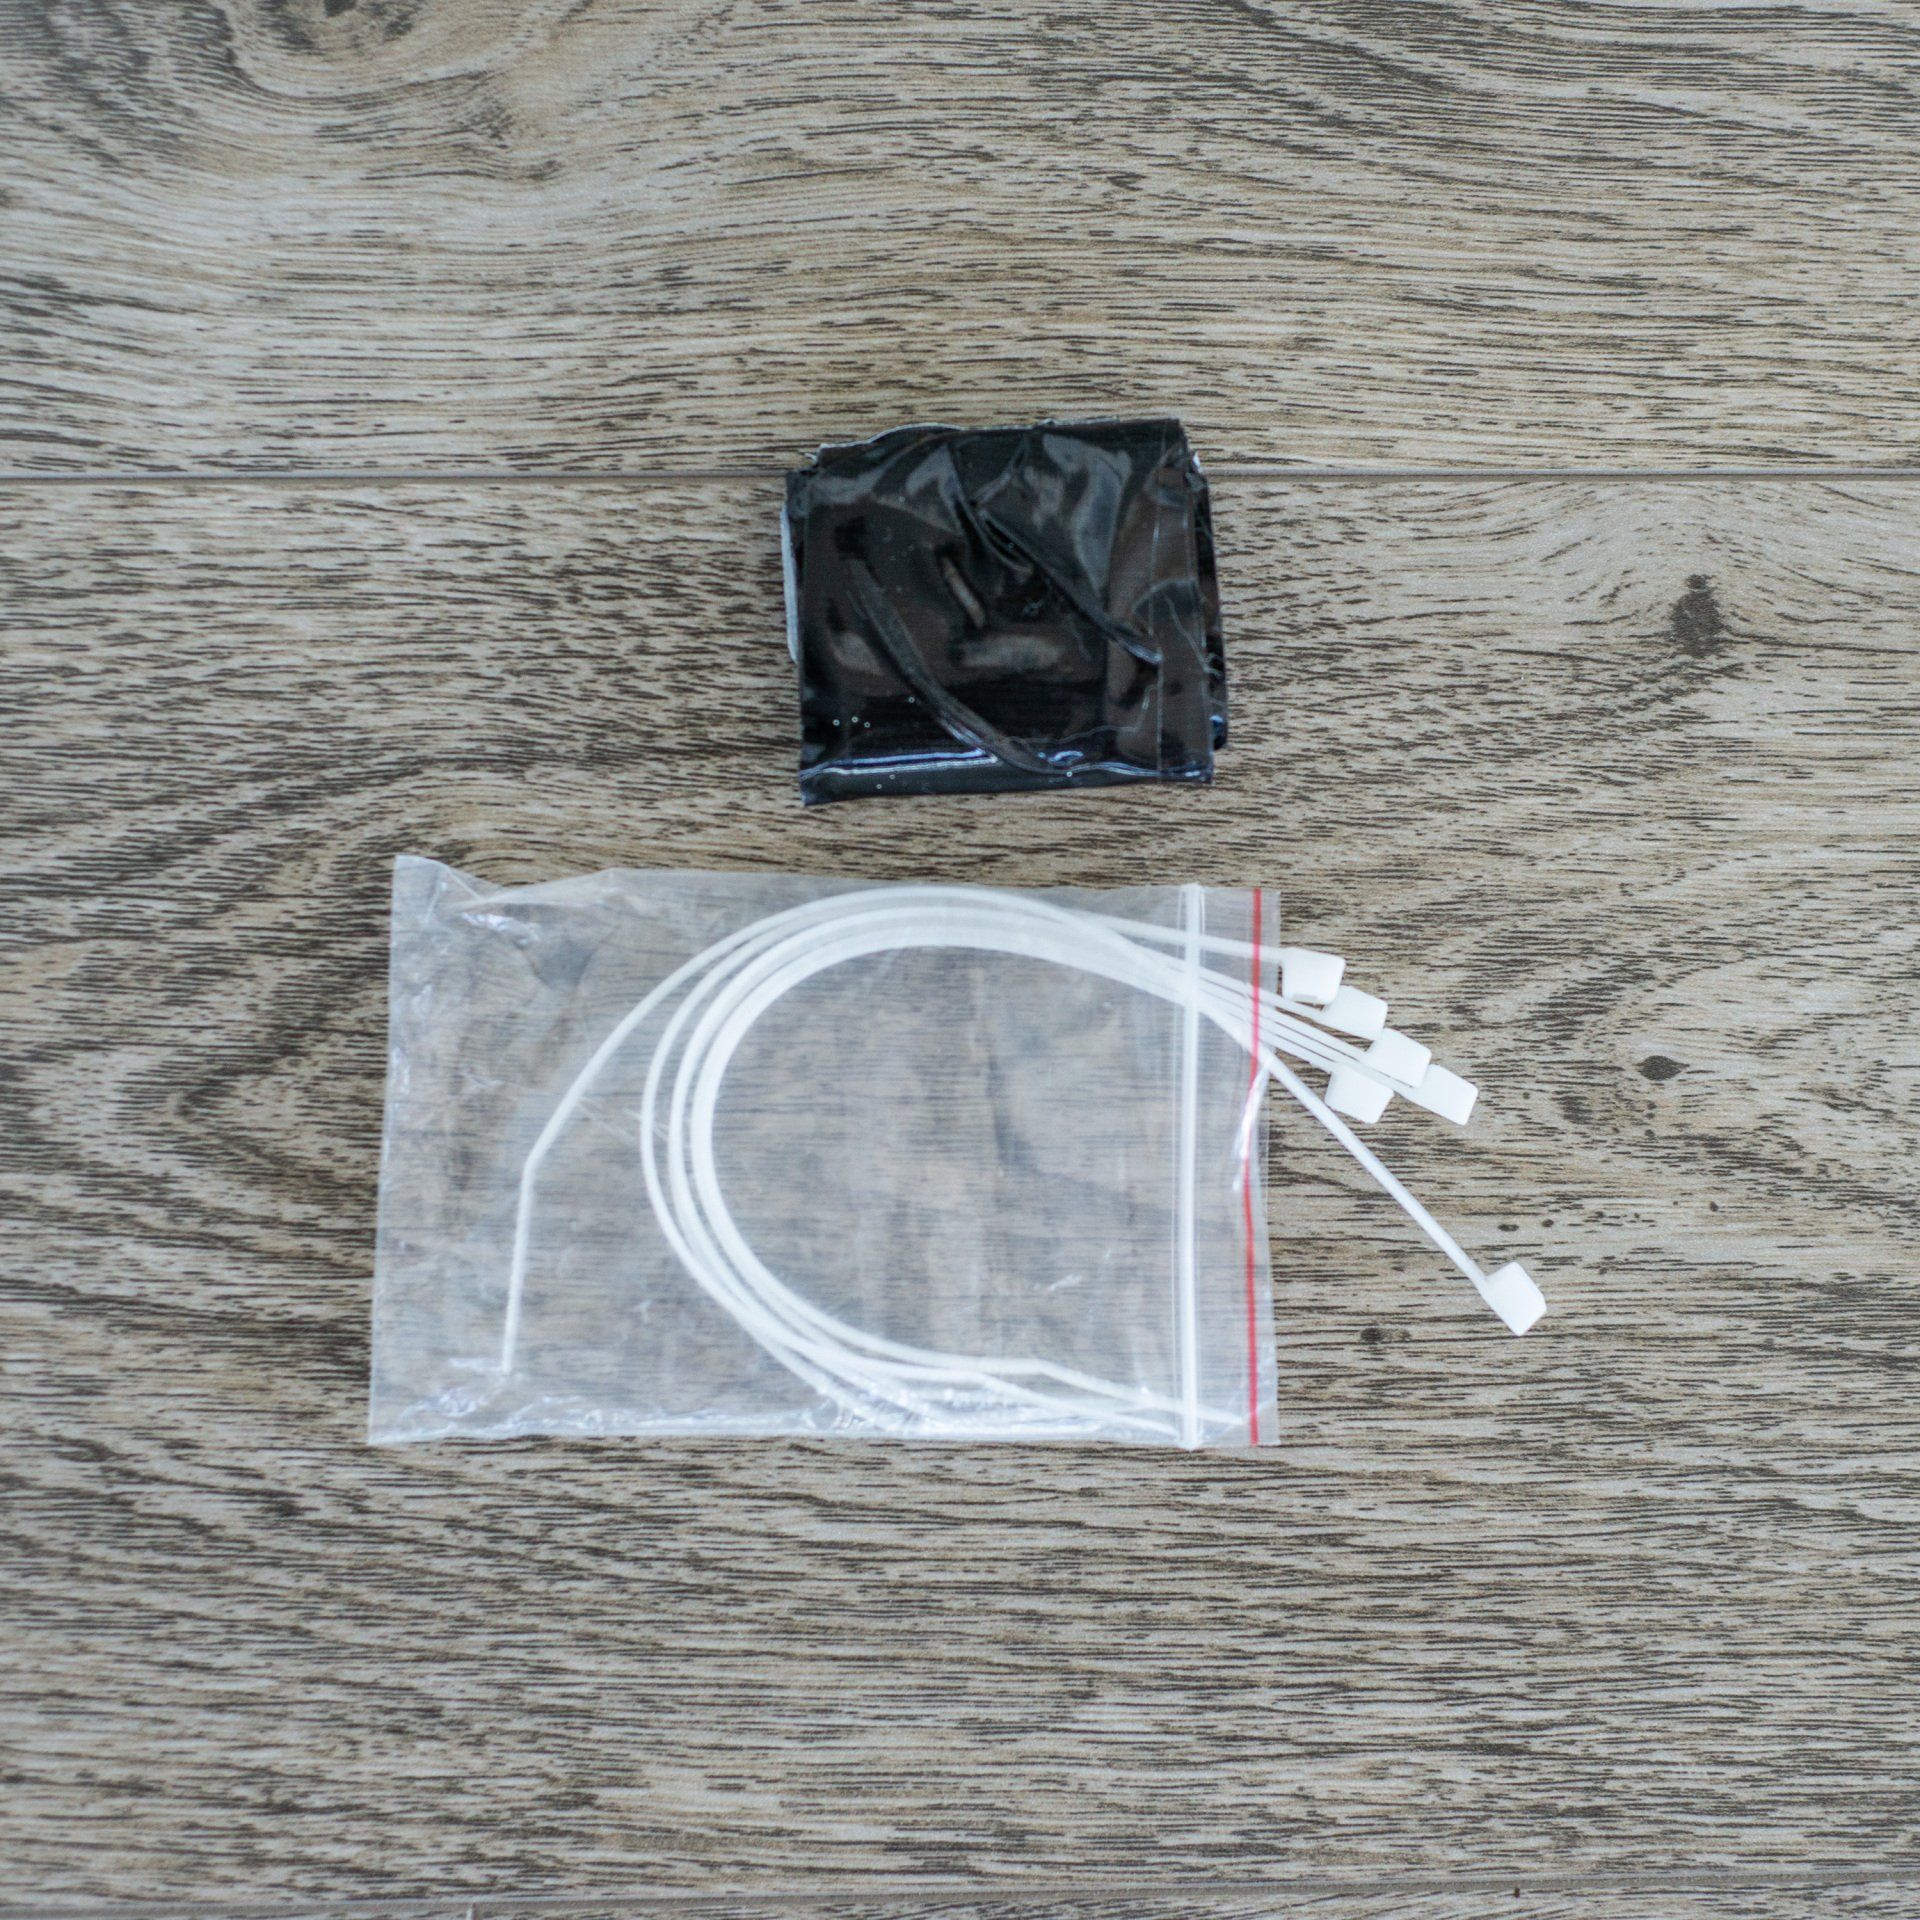
Lesson number two - don’t forget your repair kit and don’t assume it won’t happen to you. From then on I started carrying a few plastic ties and a mini roll of duct tape in my emergency kit.
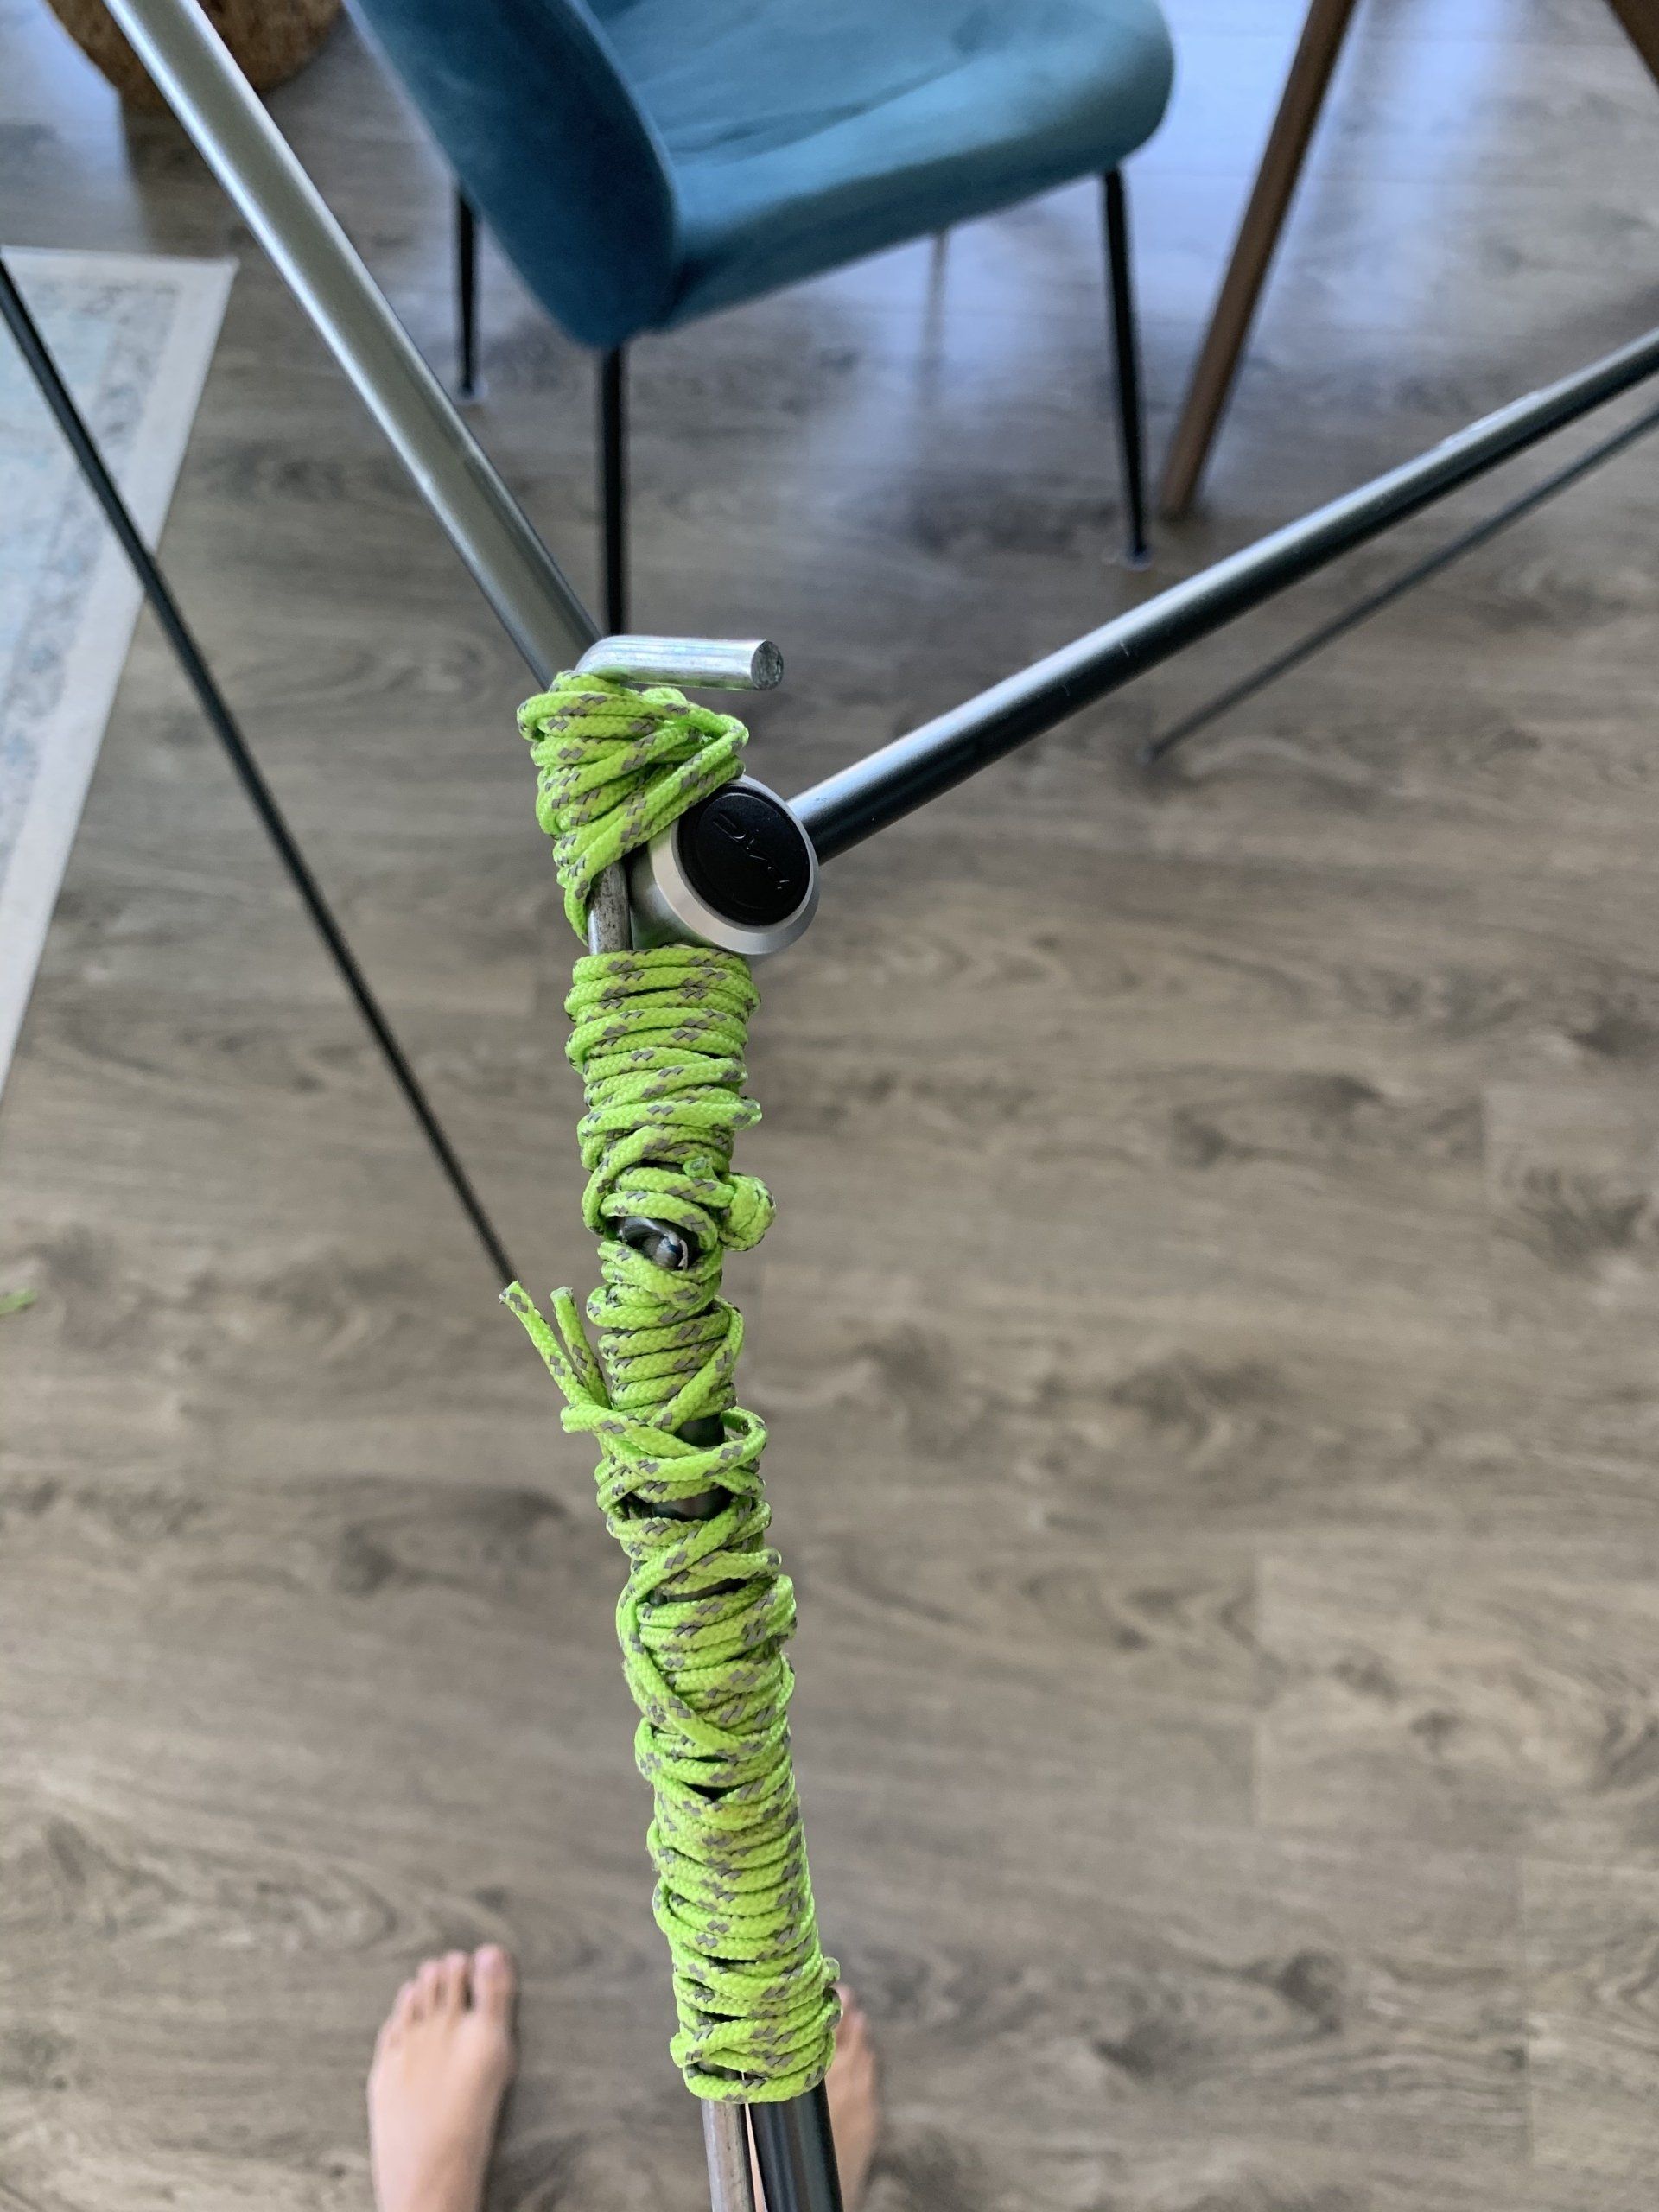
I figured I’ll try to fix the tent with a tent peg I accidentally found in the bushes. I believe I could use an original peg as well. Lacking the duct tape I had to use the guy lines that came with the tent. The fix worked, the tent stood the night, I slept like crap, but was proud of myself for not panicking too much and not giving up.
When I got home after that trip, as it was in the middle of the season and I didn’t want to send my tent to Nemo just yet, I tried to fix the pole by attaching a bunch of hex keys (that come with every damn piece of furniture you buy for some reason) to the pole using plastic ties. I used I think like 10 hex keys and you can imagine how much weight it added to the ultralight tent. I can’t find any pics of this fix as I was probably too embarrassed to take photos of it even.
The second breakage
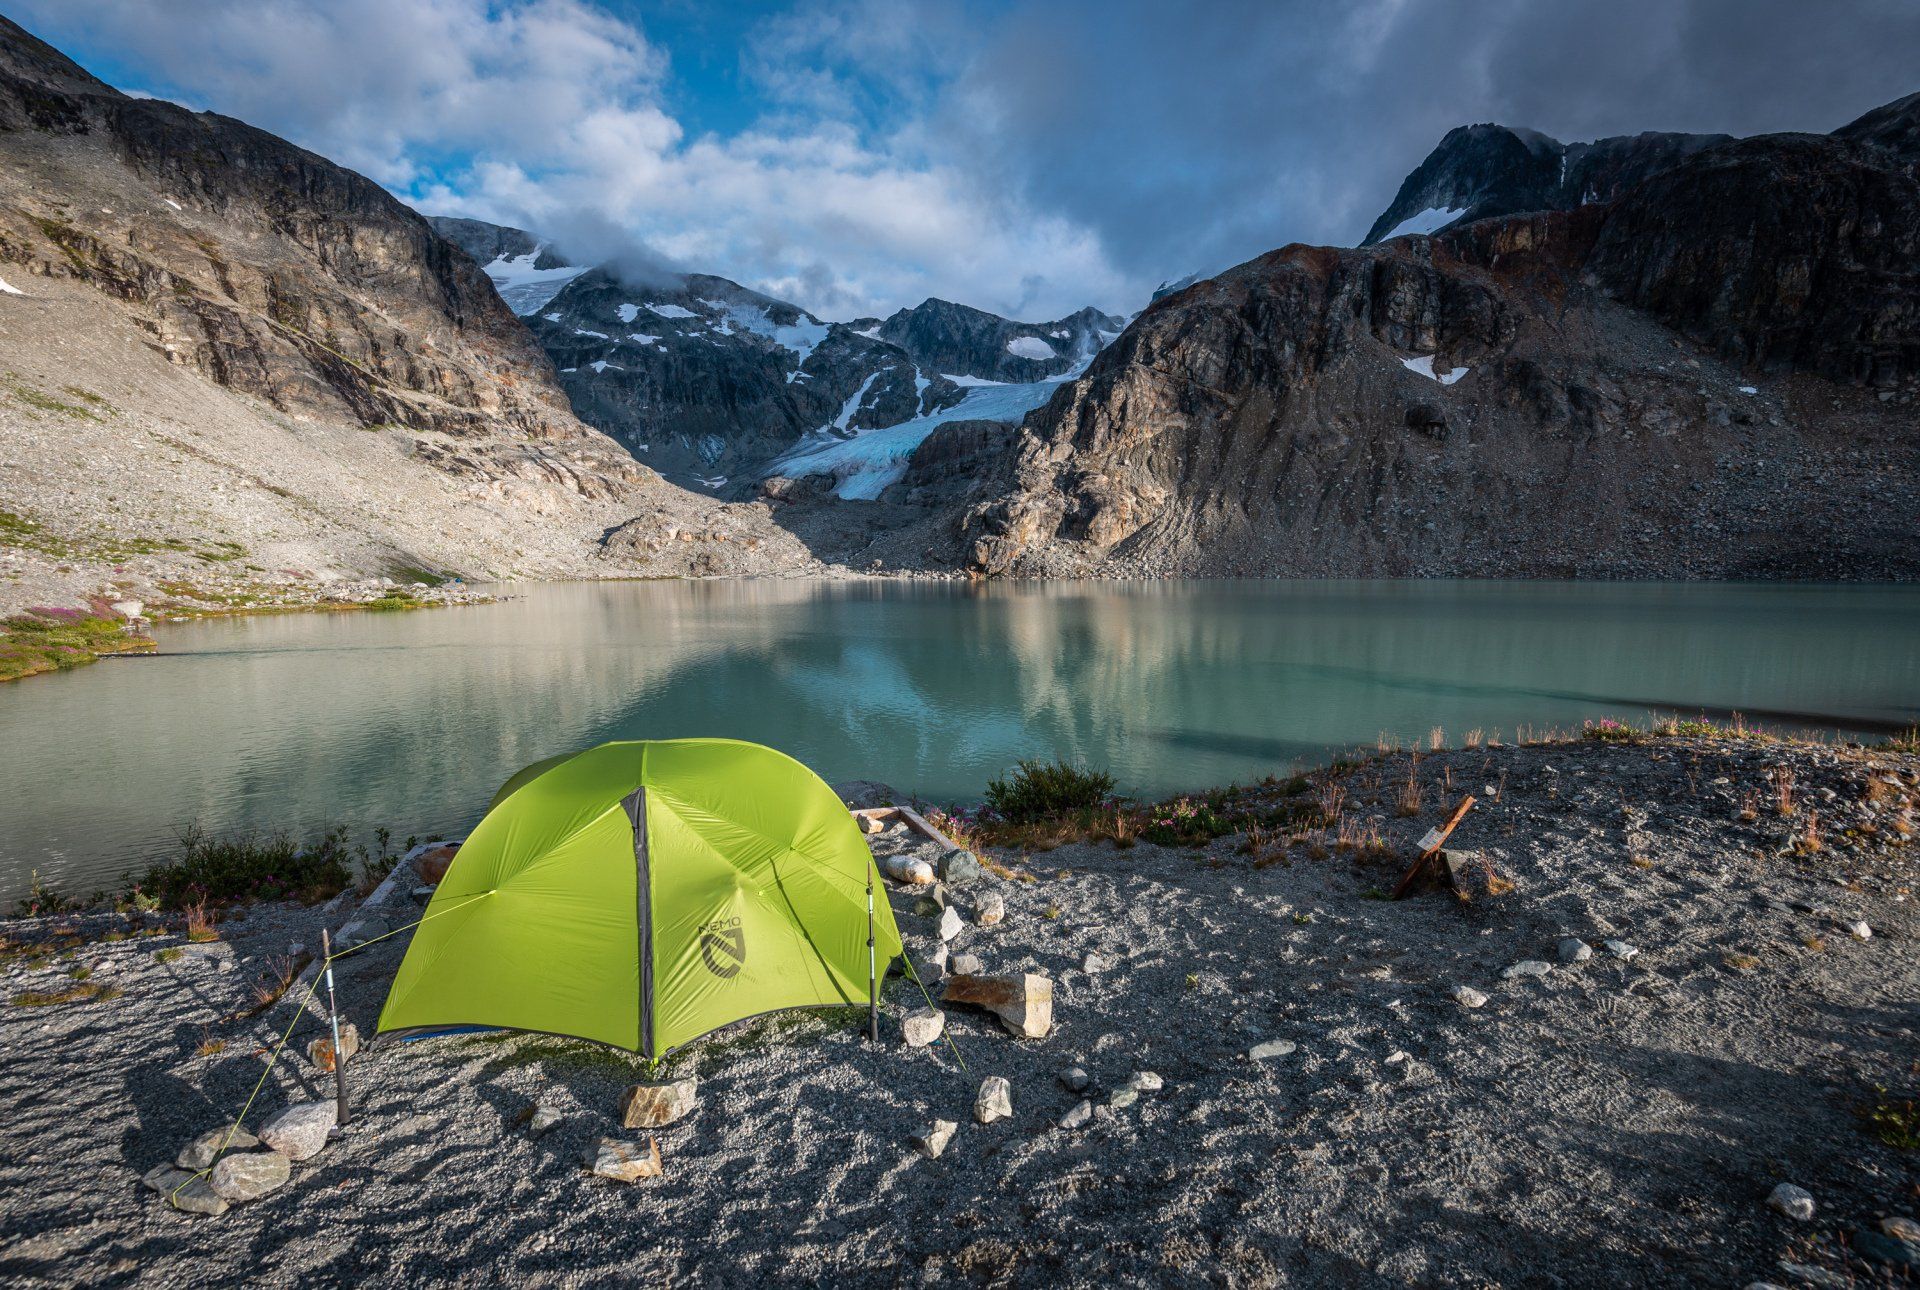
The second time my tent broke - in another spot - was during my Wedgemount lake trip. What happened was - I was pitching my tent and figured I’ll peg out the tent first, and then will attach the poles, as opposed to the assembly instructions that told to peg out after attaching the poles. I thought this way the tent will be pulled out properly and won’t move with every bit of wind. Mistake 🙄
The big pole went ok, but while I was attaching the top ridge pole, the tent fabric was already too tense and a middle pole segment broke while me trying to attach its second side to the tent.
Lesson number three - do as written in the assembly instructions.
Also, lesson number four - in general, again, because these ultralight tents can be more gentle, it’s important to make sure the tension is even across the rainfly once the tent is set, to avoid too much force concentrating in one place.
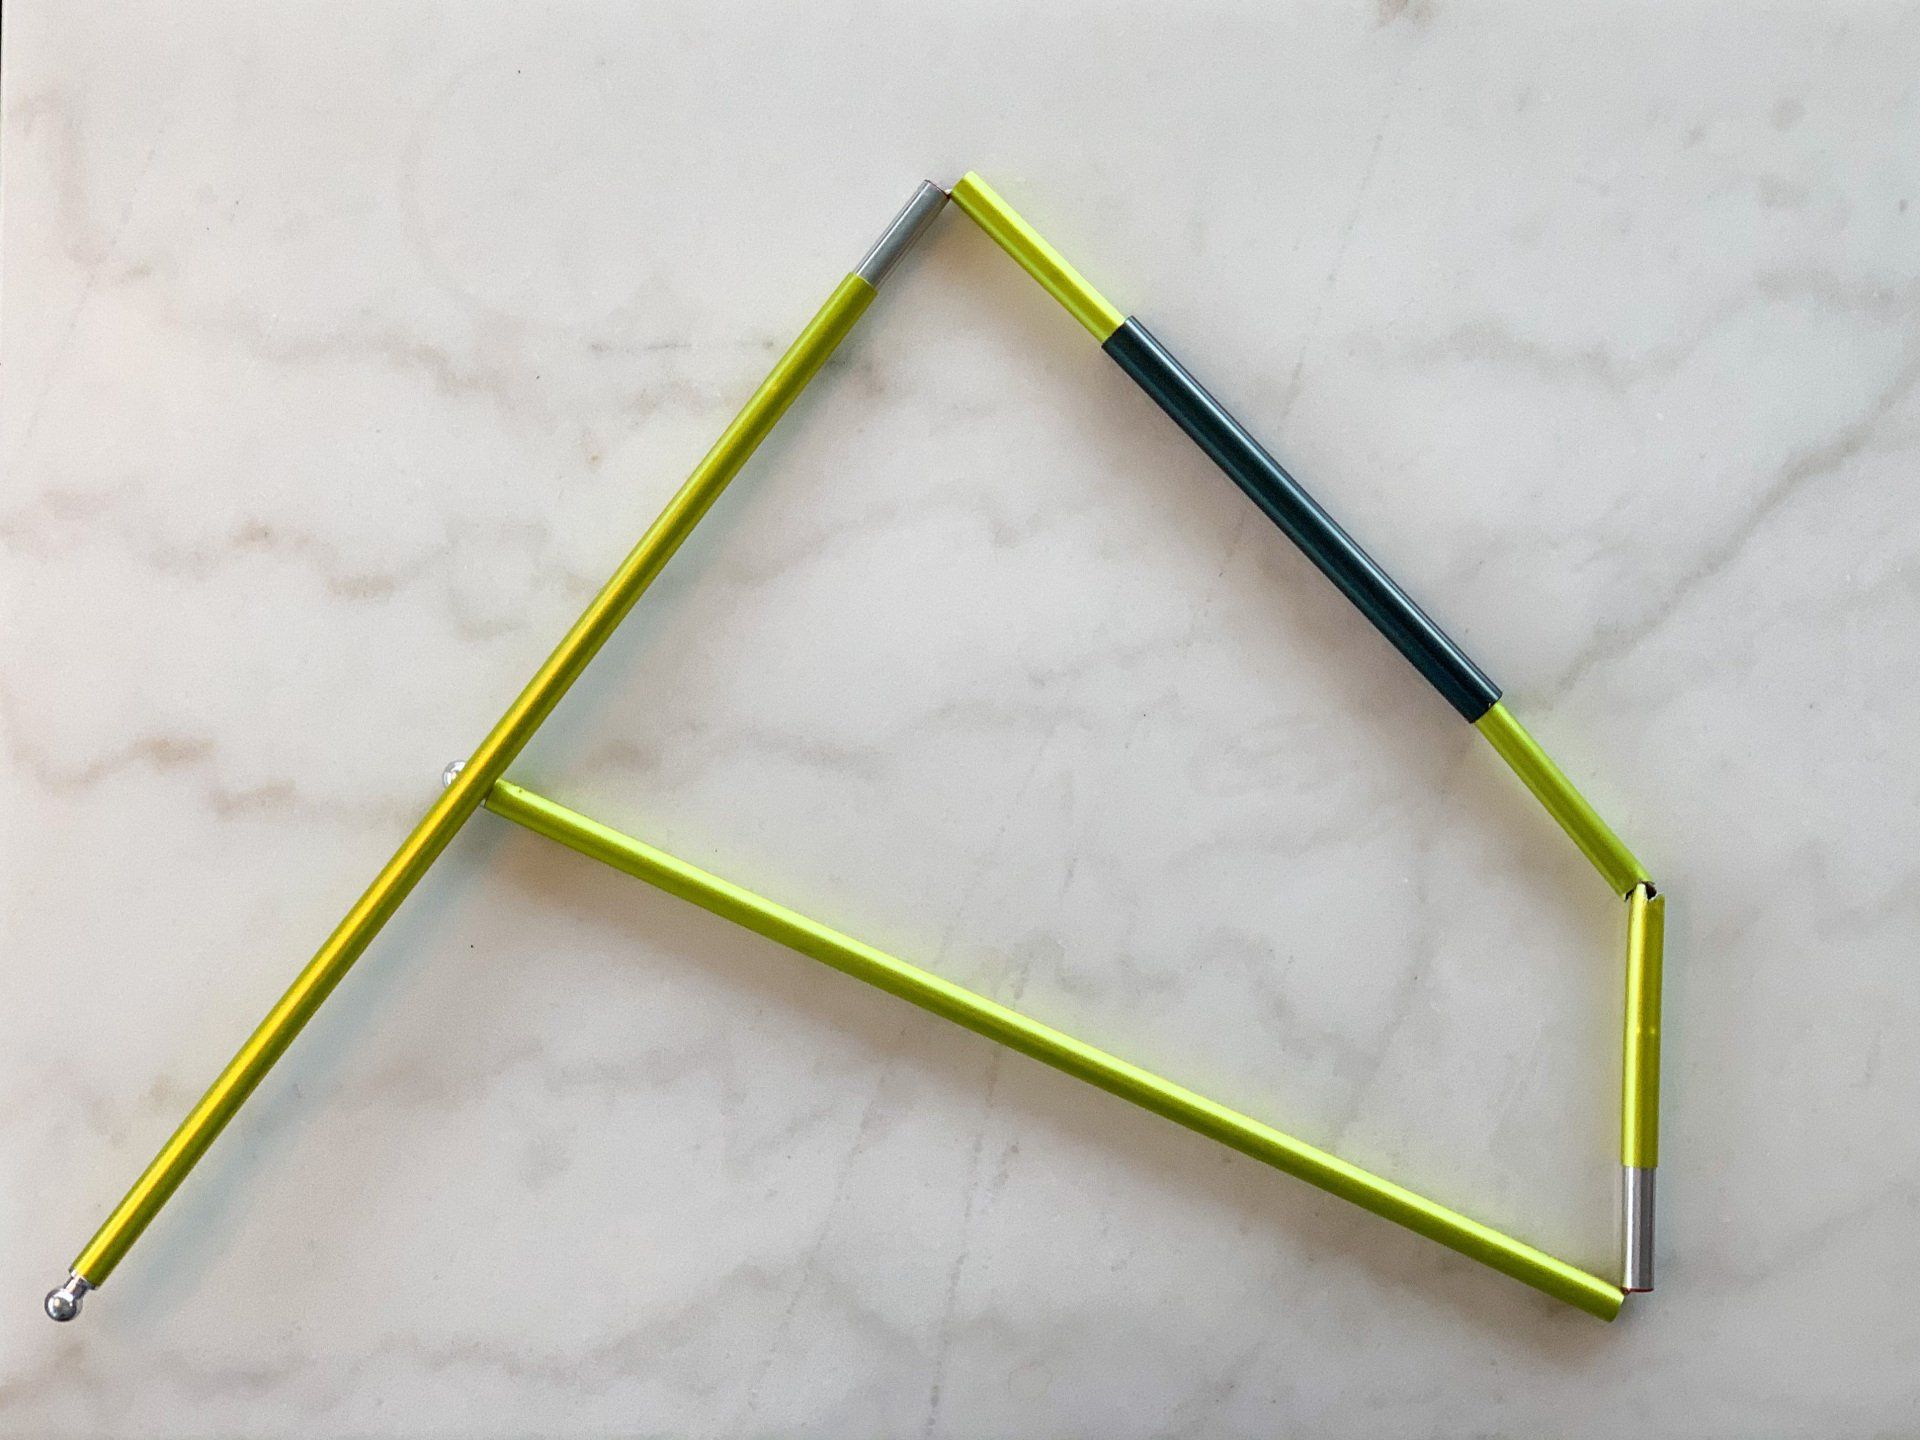
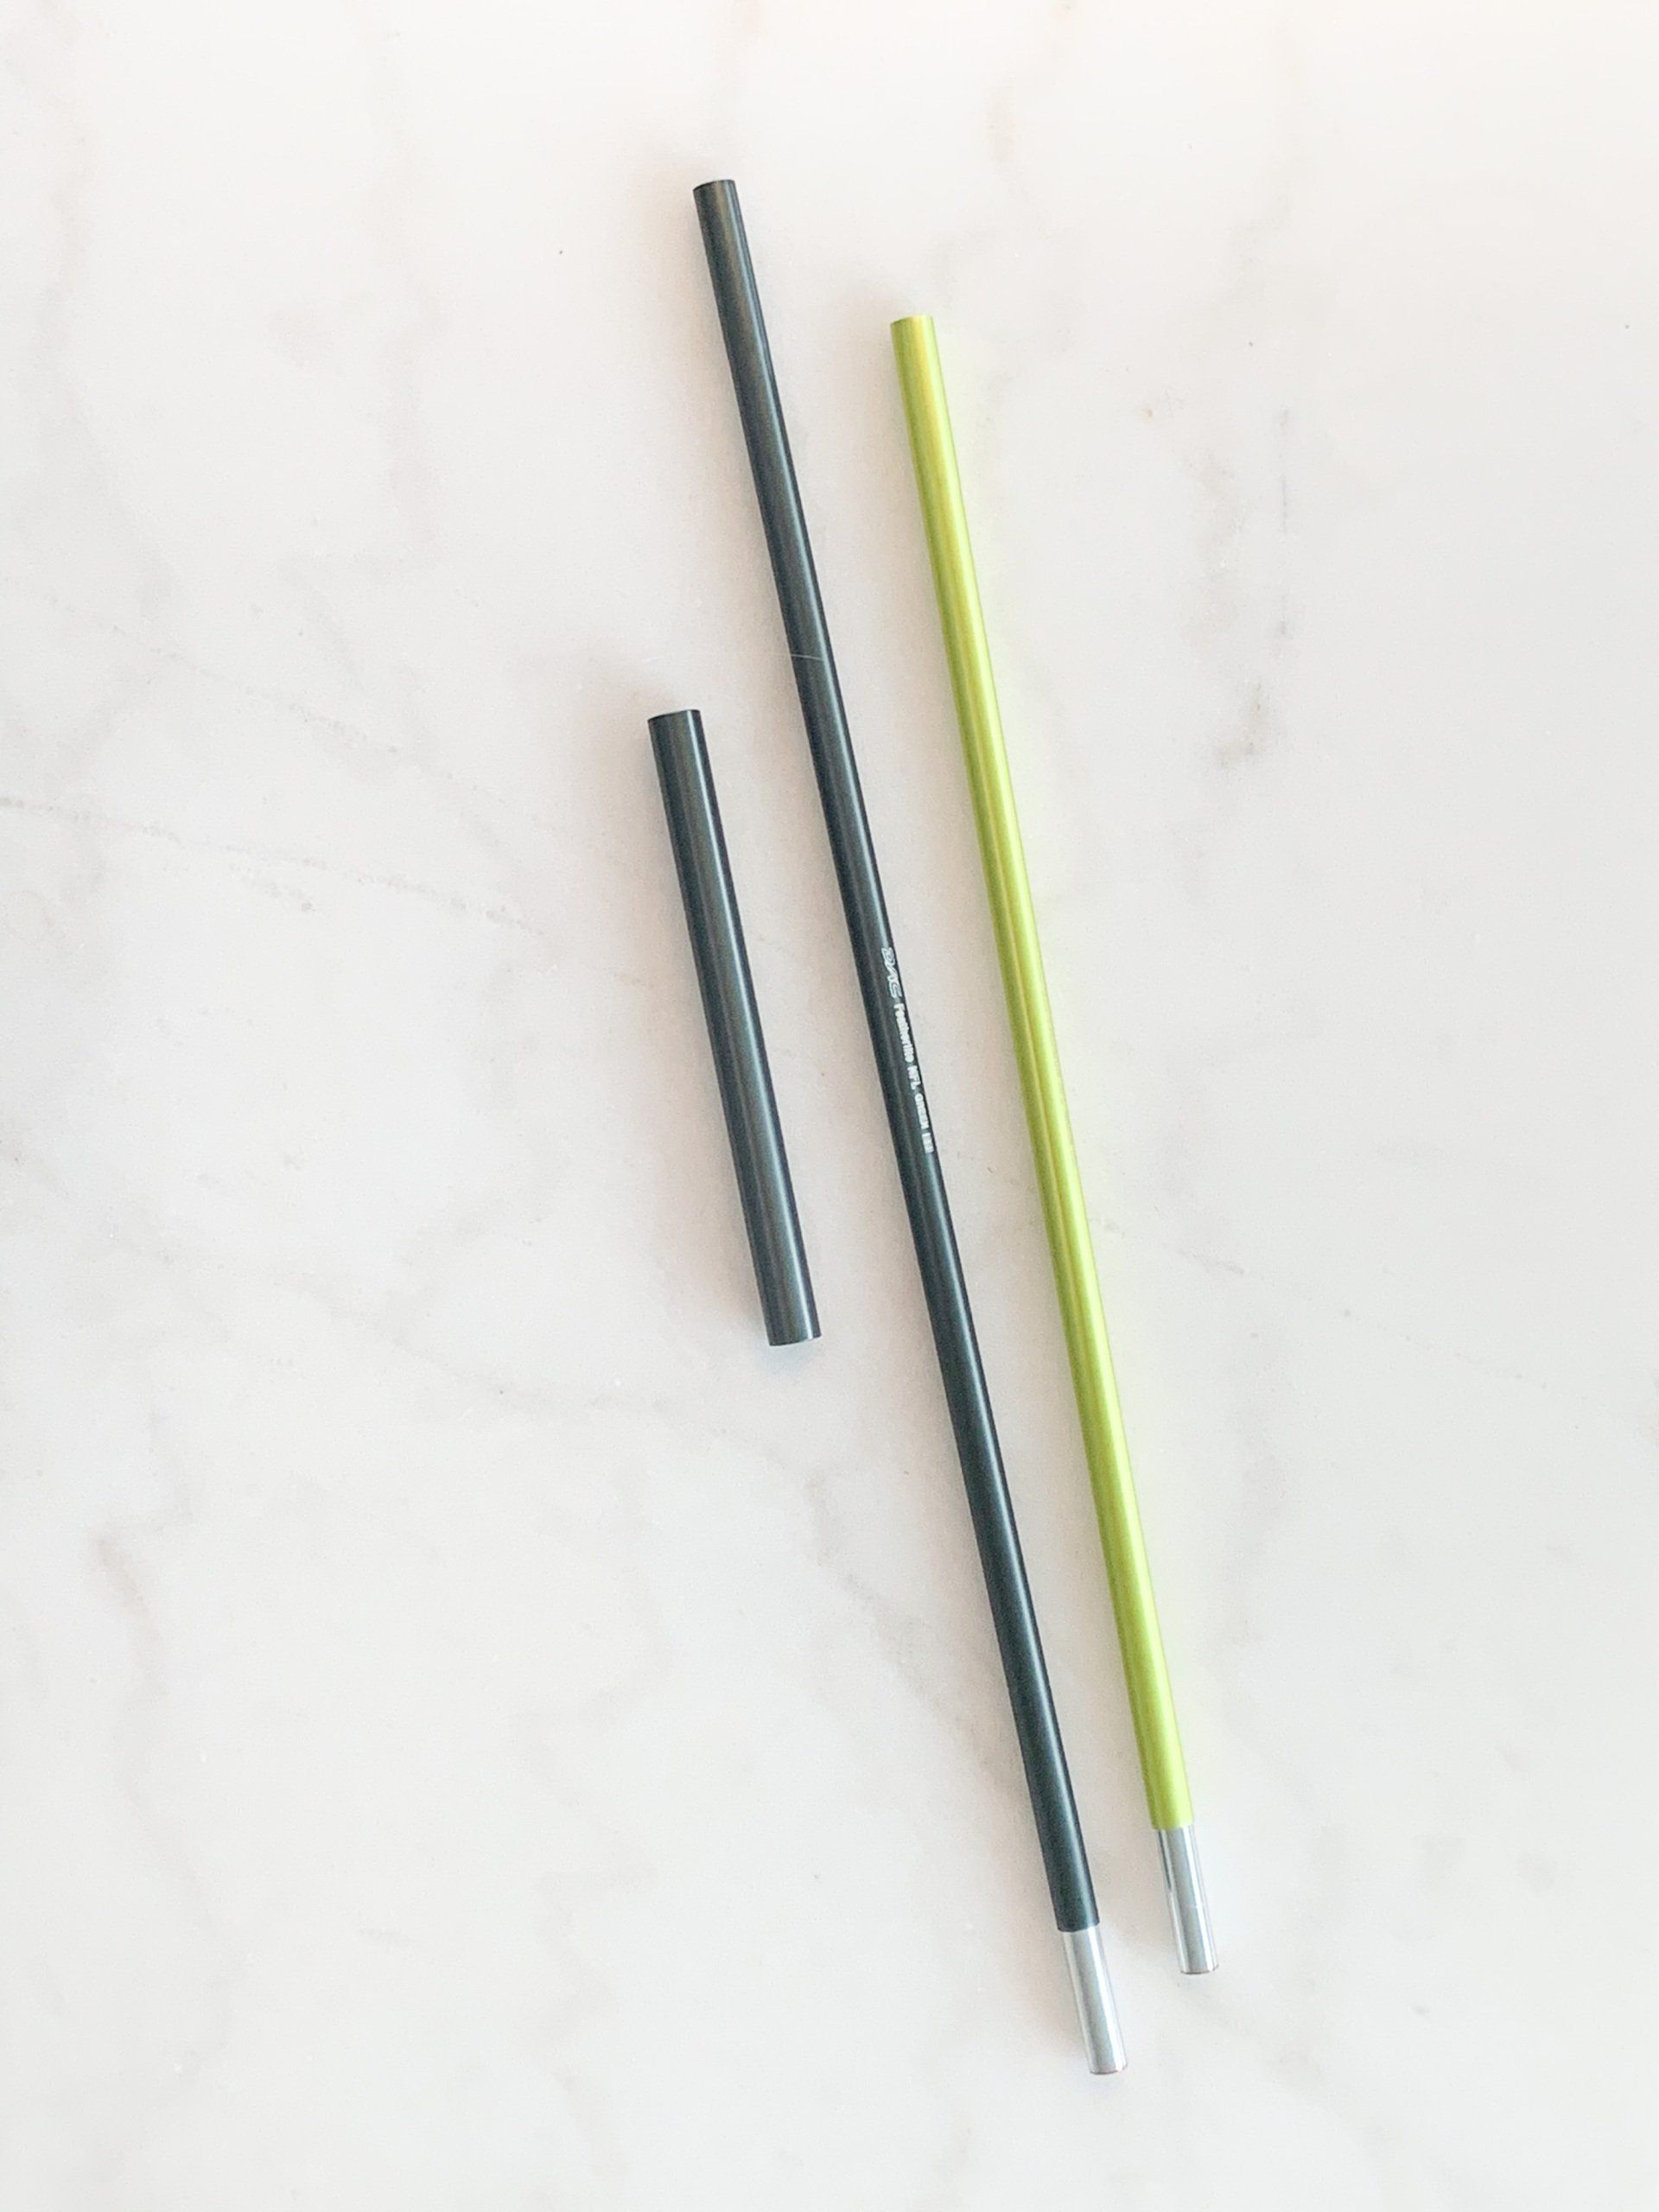
This time I wasn’t panicking, just disappointed. But the fix was easy. There was this weird tube that came on the top ridge, which I wasn’t sure what it was for, wasn’t mentioned in the assembly instructions or anywhere else. But it was the right size to be pulled on the breakage spot and held the overall pole shape really well.
As I discovered later, while searching for videos on how to repair a tent pole, it is a pole repair sleeve and it is meant for these situations exactly - to put on a breakage point. I could use it when my pole broke the first time, if I was aware of its purpose and knew how to disassemble the pole segments. 🤦🏽♀️
The second breakage of the first spot
The fix of the main ridge - the spot where my tent broke first - with the hex keys has worked semi-well, the shape wasn’t ideal, but it held for a few other trips, until it came apart during my trip to Saint Marks.
I fixed it with some more plastic ties, I now carried with me, in the field, and then tried to fix it by putting a narrow PVC pipe on the pole - later at home. The pipe broke right when I test-pitched my poor Dragonfly at home after the fix.
Lesson number five - test your fix at home, haha.
The trip to Saint Marks was the last bit both for me and the Dragonfly. I said screw it and wrote to Nemo. At this point I gave up on the idea it will be somehow covered by the warranty and just requested replacement parts. I also asked if I could purchase a spare repair sleeve, so I can put it on the main pole just in case.
For about $25 including shipping I got the 2 replacement parts and an extra repair sleeve. For me it was an amazing deal as I realized I don’t need to actually send them my tent and deal with shipping from Canada to US and back. Still need to actually do the replacement though, and looking forward to have a like-new tent for the next season.
Overall, I was, of course, disappointed to see my $500 tent breaking on the fourth use and it makes me wonder about the quality of the materials. But on the other hand, I don’t know how other similar tents would behave in such conditions. I have learned my lessons and hopefully this won’t happen again. We’ll see.
In conclusion, I do recommend this tent as I saw no evidence that pole breakages are a common problem in this model, and besides that, it’s incredibly lightweight and a pretty solid piece of gear.
Also hoping my experience will give you some ideas on how to avoid unpleasant situations in the field and better care for your own tent.
Update: Sept 1, 2021
So I thought I'll follow up after I fix the tent and test it this season. I have replaced the 2 broken pole segments - took a good 40 mins I think as disassembling the poles is a bit cumbersome. Nothing dramatic, but I wouldn't attempt it in the field - it's time consuming and can lose some small parts.
While fixing it I put one of the now 2 repair sleeves on the center pole - you can't do it unless you disassemble the poles, so I figured as if it happens again I don't want to spend an hour dealing with removing the pole string and detaching the center pole etc, so I'll come prepared with the repair sleeve already on 😆
9 nights in the tent so far this season - held up like a champ! No issues so far.
Except that I lost my second repair sleeve near Berg lake in a very stupid way 🙈 It was on my ridge pole, and while attaching the ridge pole to the tent it kinda sprang out of my hand and the sleeve flew away. I spent like an hour searching for it, no success 😕 So if you find it on the Berg lake campground north-east of the creek near the trail, consider yourself blessed. When the trail reopens again 😭
Anyway, I decided to get another one from MEC - MSR Tent Pole Repair Splint 13mm. I knew it won't fit as well as the native Nemo one and it's indeed a bit too wide, but in the occasion of pole breakage it will do better than any field fix, for sure. Oh, I feel so dumb I didn't know about these sleeves before 🤦🏽♀️
While we're at it... The condensation issue still persists from time to time. This summer I've spent the majority of the nights in the tent with my partner - so 2 breathing inside = more condensation. Bummer, though still not a huge deal.
Speaking of actually using it for 2 ppl - I've upgraded my sleeping pad to king size 😂 - Therm-a-Rest NeoAir Xtherm Max WV Sleeping Pad - so my sleeping system doesn't suck anymore (I took the size large, guys)! And if you were wondering - no, 2 pads of 2m x 60cm do not fit side by side in this tent, in the leg area. So they end up kinda overlapped which is not super convenient , but I still sleep better on this one.
Another update is regarding the waterproofness that I was swearing by - I got a weird leak in the tent floor while camping at Joffre lakes - read more in the blog post. Since I have spent quite a few rainy nights in this tent and it's the first time this is happening, I'm not sure we can drive conclusions here... Maybe there's a tiny hole in the bottom. My main conclusion is - nothing is 100% waterproof. Especially when you need to get inside the tent wearing the wet rain jacket 🤷🏽♀️
So these are updates for 2021 so far. Love this tent. Cozy AF 😍
Share your gear breakages stories in the comments below. Hopefully I’m not the only one 😅
Cheers guys,
Oless